Have you ever wanted to disable selection of marks in your vizzes in Tableau?

Maybe your users are meant to click on marks for interactivity, but you don't like the way marks get outlined after they're clicked.
Perhaps you tried using a dummy variable to remove unwanted highlighting, but still didn't like the results.
Or maybe you're just working through Andy Kriebel's Workout Wednesday #WoW2024 Week 15 and trying to replicate his requirement that marks automatically deselect, as seen on his dashboard. Although I've found myself wanting to automatically deselect marks before, it was this challenge that finally pushed me to learn how.
Here's a step-by-step guide using Tableau's built-in Superstore data with screenshots of each step.
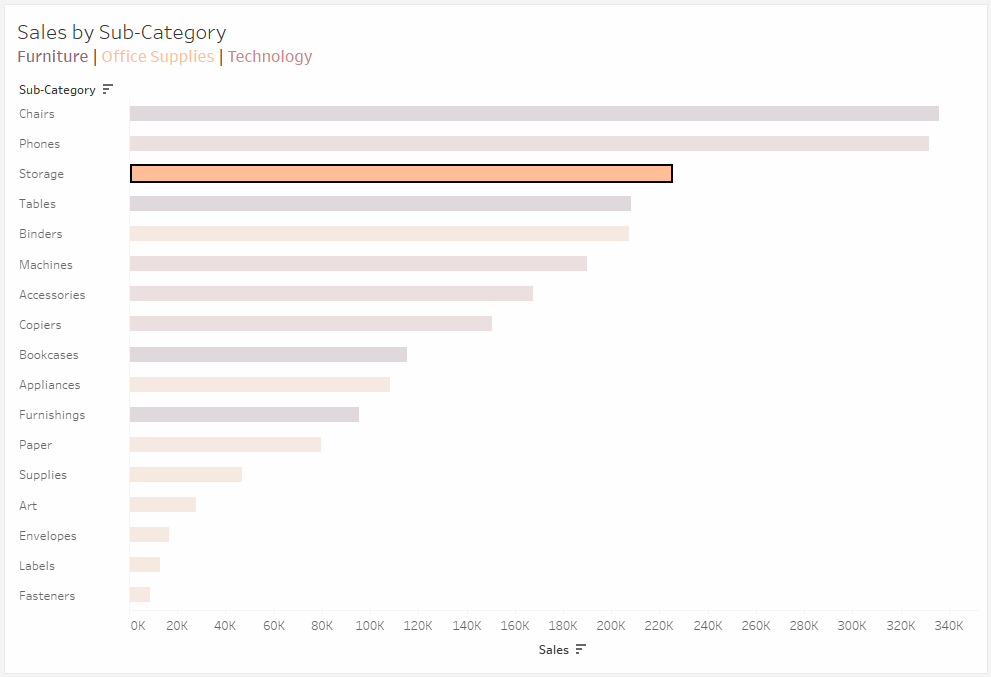
- Create your chart.
I've made a simple bar chart with Tableau's built in Superstore dataset, which you can see above.
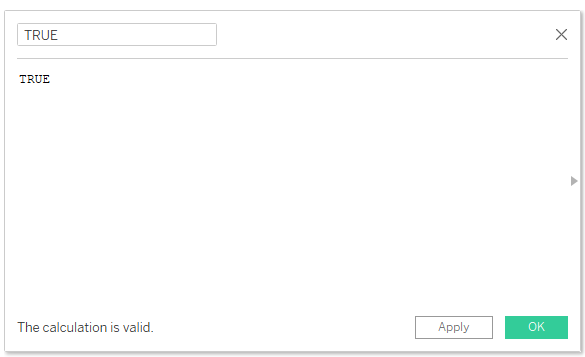
- Create a TRUE and a FALSE calculated field


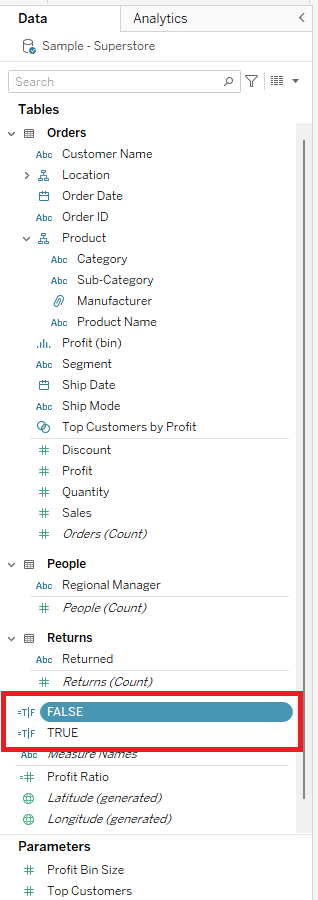
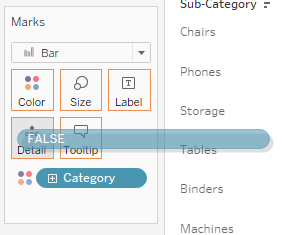
- Drag "FALSE" onto detail on your sheet.

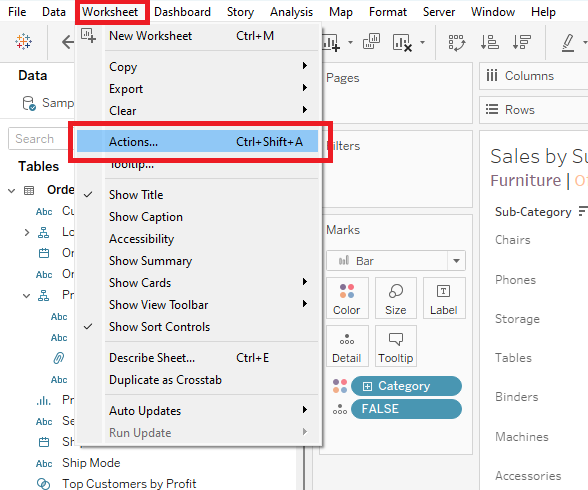
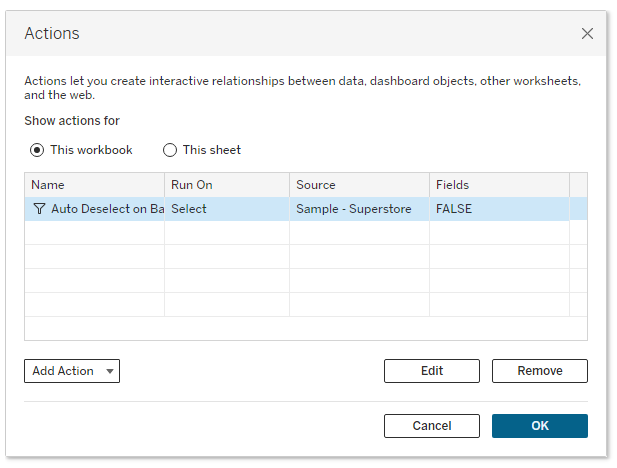
- Create a filter action.
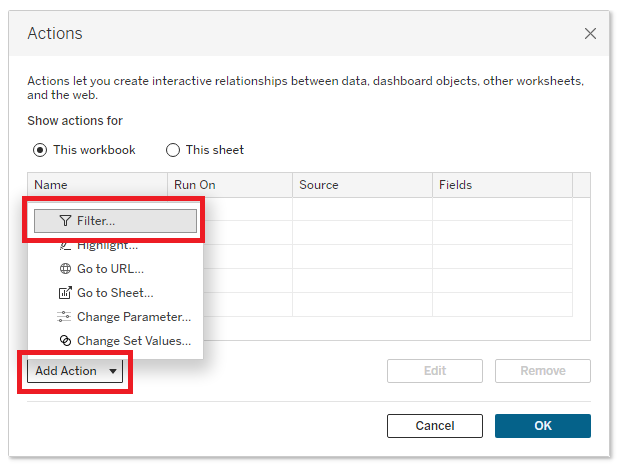
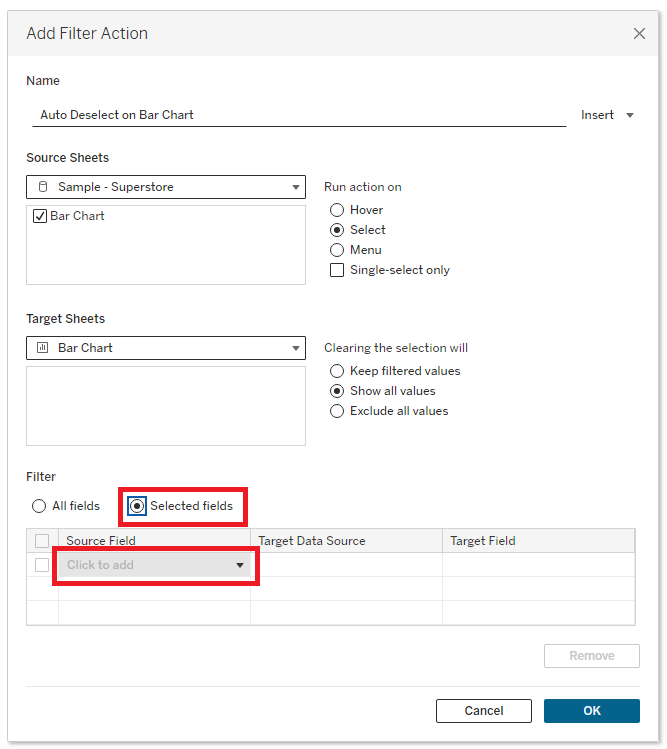
- Configure the Filter Action
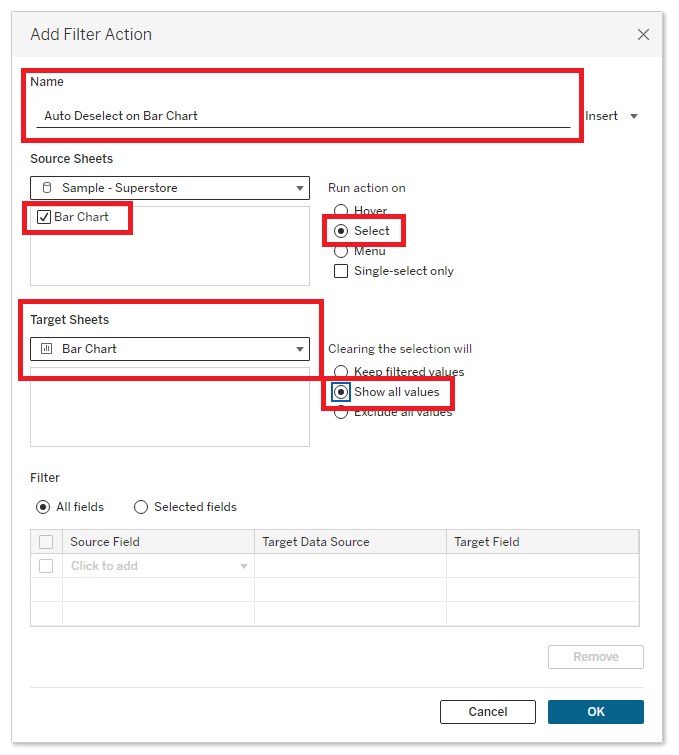
- Give the action a descriptive name
- Select the desired sheet as both "Source Sheets" and "Target Sheets."
- Note: If you need to do this on multiple sheets, don't add them here. Create a new filter action for each sheet.
- Set "Run action on" to "Select."
- Set "Clearing the selection will" to "Show all values."
- Set "Filter" to "Selected Fields"
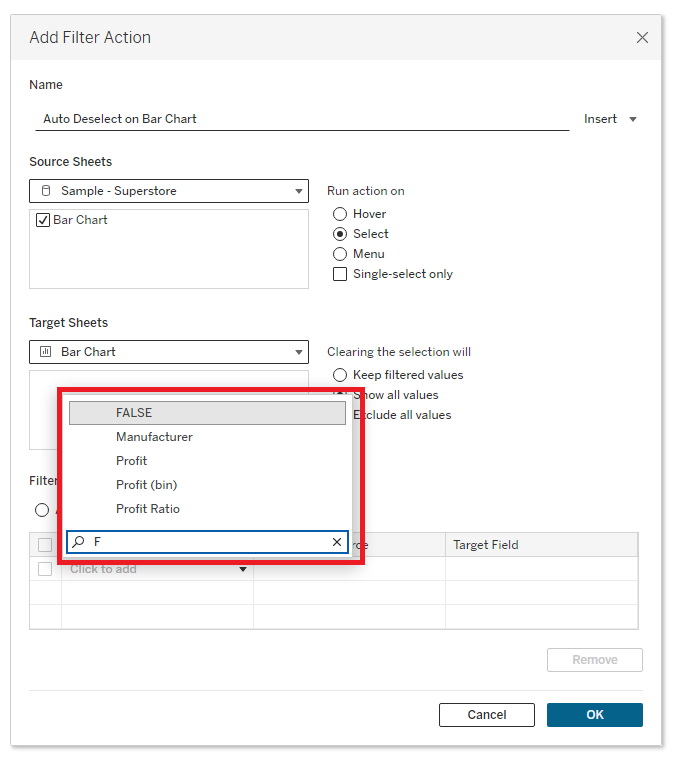
- Click "Click to add" and select "FALSE."
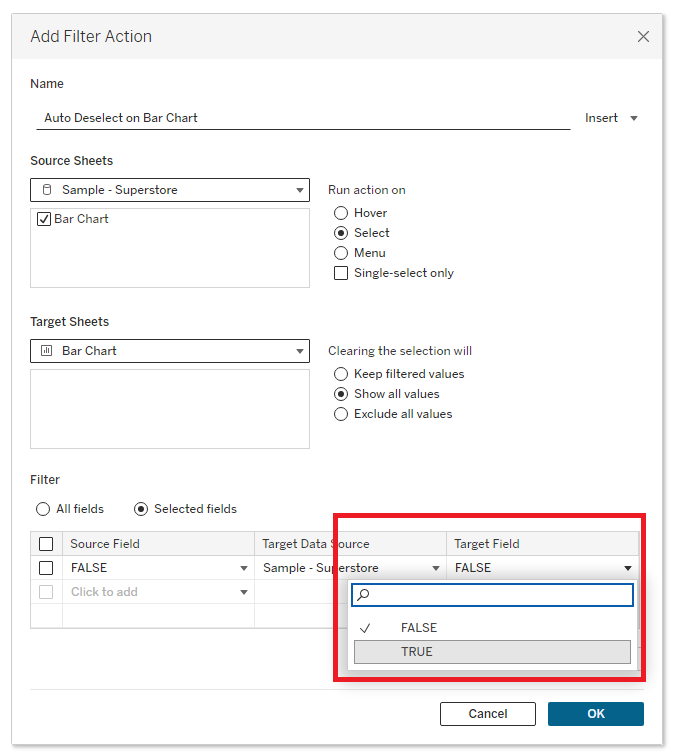
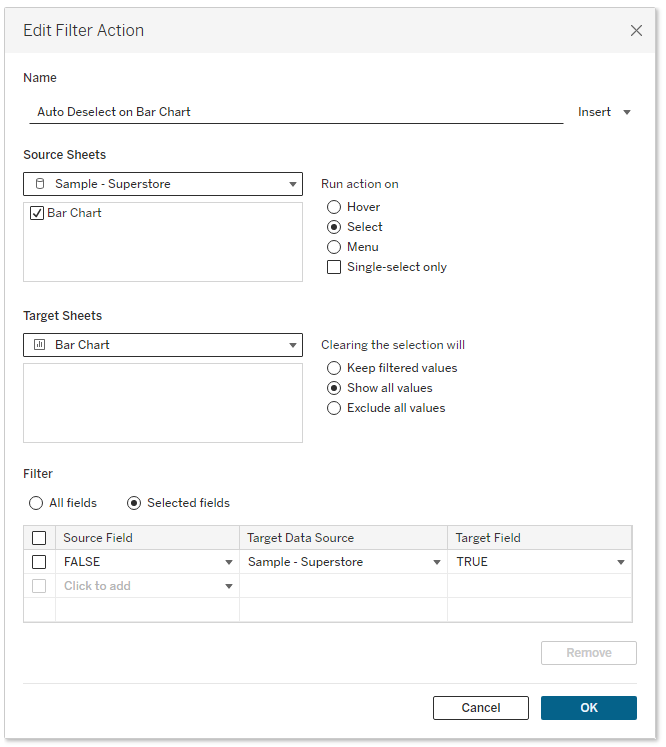
- Change the "Target Field" from "FALSE" to "TRUE."
- Hit "OK" to return to your list of actions. Hit "OK" again.
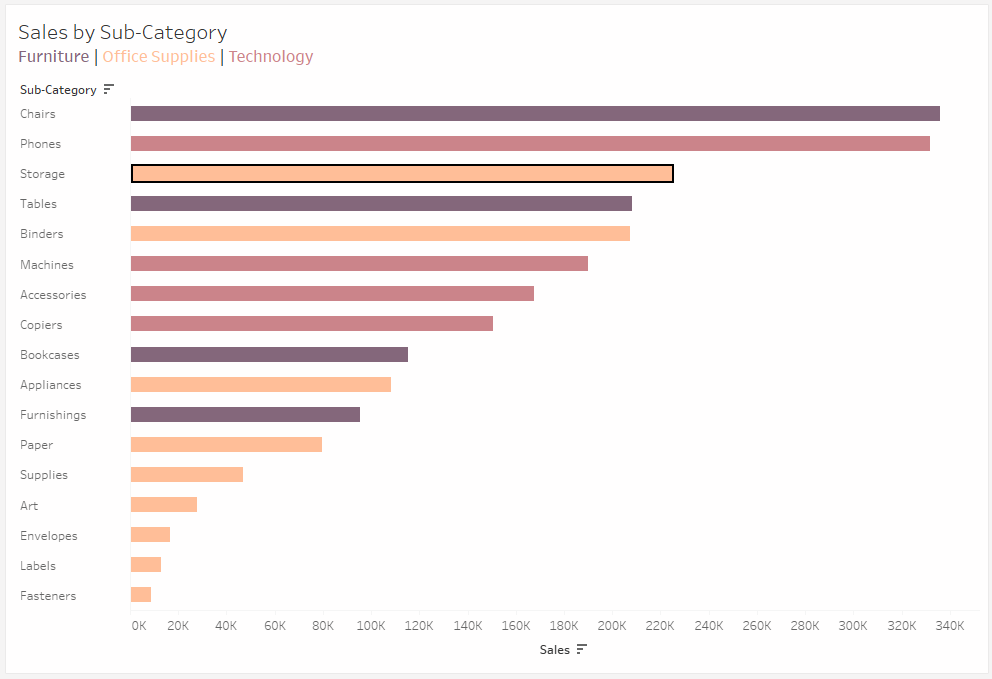
Voila! You've created an action to automatically deselect marks on your viz! Repeat this process for any other sheets you want. These Worksheet Actions carry over when you add the sheets to a dashboard. Now your users won't see undesired highlighting or outlining on your marks when interacting with your dashboard.
Check out my "How To: Automatically Deselect Marks" dashboard and download the workbook!
Giving credit where credit is due:
Thank you to Andy Kriebel for creating the #WoW that challenged me to learn this process.
Thank you to Luke Stanke's blog on the same topic. While my method is slightly different, his helped me figure it out.
And thank you to Yuri Fal's "Clear Selection" dashboard, which I downloaded and dissected. My method is really a blend of Luke Stanke's and Yuri Fal's methods.