


Creating a Tableau Dashboard connected to a Google Form
If you're looking to track and visualize support tickets, event RSVPs, equipment checkouts, personal habits, or pretty much anything else you can create a Google Form for, I'm here to show you how to create a dashboard that can display updating entries right on Tableau!
Let me preface this by saying I am assuming you will be posting your dashboard on Tableau Public (making it available to any/everyone). Though the steps below are geared specifically for this, you can also share your live response tracker dashboard to your Tableau Server with a couple little tweaks specific to the publication stage.
You can check out my simple example here.
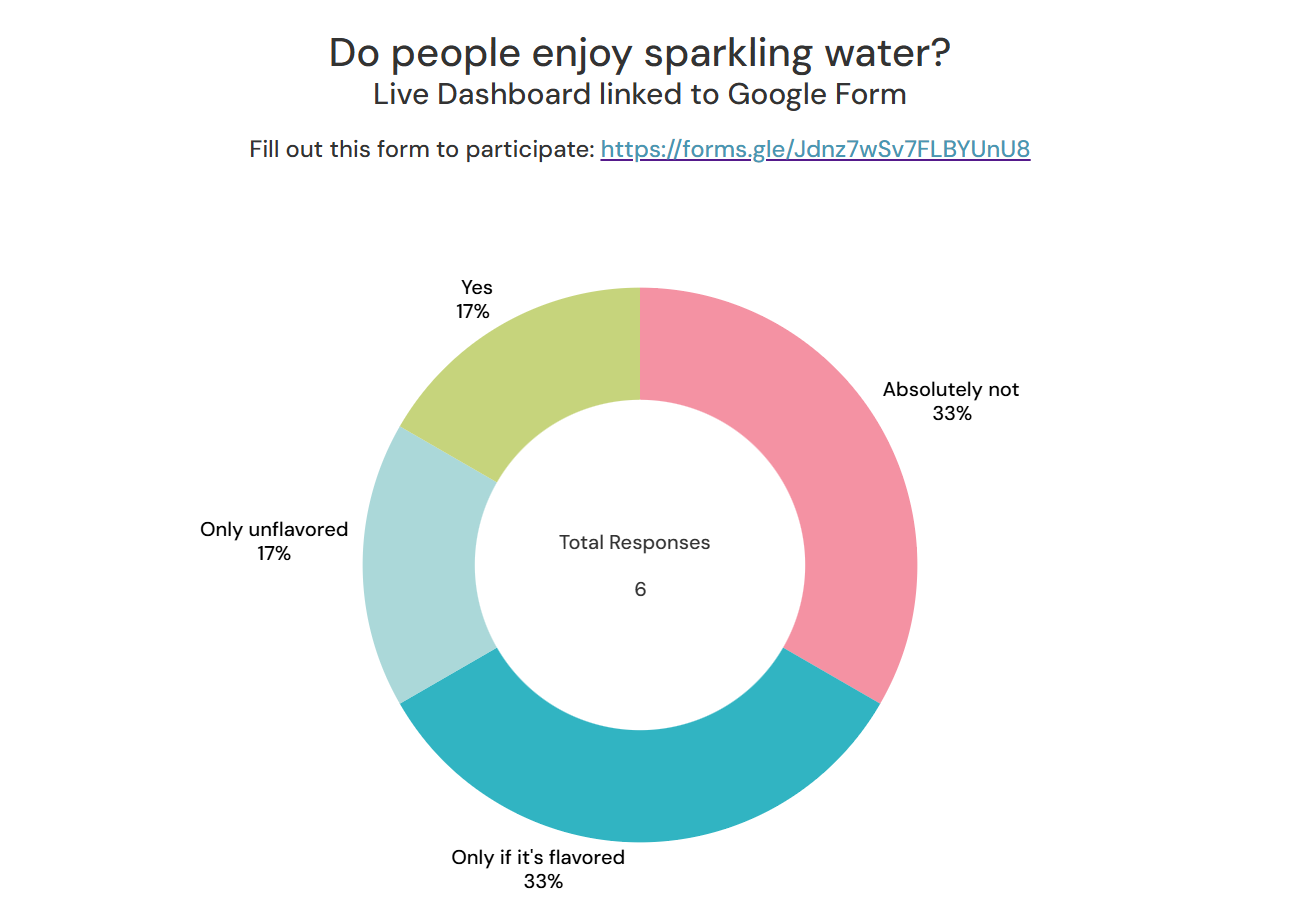
Now let me show you how to do it for yourself!
Create a Google Forms survey
- Fill out the questions, format it the way you like it, etc. Publish it with the desired access level.
- Once it's ready, click the Responses tab at the top-center.
- Click Link to Sheets and choose Create a new spreadsheet.
Every new form submission will now automatically create a new row in this sheet.
Connect the Google Sheet to Tableau
- Open Tableau Desktop.
- In the Connect pane on the left, select Google Drive under To a Server (click More... and search if you don't see it).
- You may be asked to authenticate. Sign in to your Google Account and grant Tableau access.
- Select the spreadsheet created by your Google Form (usually named
[Your Form Name] (Responses)). - Authenticate from Tableau! Before doing anything else, go to Tableau Public, navigate to your Profile (icon in the top right corner). Click on Settings and scroll down. Under 'Connector Credentials' go to 'Add Credentials' and click on Google Drive.
Build and Publish your Dashboard
- Now go back to Tableau and build your Dashboard! You can include multiple graphs with your Google Form data–make it look exactly how you'd like.
- When it's ready, go ahead and publish it: In the top Menu, select Server > Tableau Public > Save to Tableau Public As. Then check the box that reads 'Keep my data synced with the data source using saved credentials'. This will solidify your data-dashboard connection and ensure your dashboard can be updated with the responses from your form.
A note on Data Refresh: Your dashboard will automatically pull from your form data and update every 24 hours. You can also manually trigger more frequent updates. To do this, make sure you're logged in to your Tableau Public Profile, scroll to the bottom of your published dashboard view, and under 'Data refreshed' you can manually trigger a refresh by clicking Request Data Refresh and refreshing the page.
That's it! Nicely done!