


When building a dashboard, organising your sheets efficiently can be challenging. Tableau gives you two options: Floating or Tiled
Whilst both have their pros and cons, there is a general consensus that you should build a dashboard in tiled using layout containers.
The main reason using a tiled layout is that it ensures consistency across the dashboard, whilst also providing visual conformity across sheets. Tiled elements are also easier to manage when implementing changes in the dashboard and are less likely to shift when Tableau updates (lots of headaches have been caused by this).
That said, you can use floating elements within your dashboard—just avoid building the entire dashboard this way!
So how do I build the dashboard using Containers?
Now containers can be pretty difficult to manage and build in tableau so it is good practice to plan out which containers to use and when (if you have read my first blog, you will know how important planning is –> also if you haven’t, here’s a shameless plug, please check it out 😅).
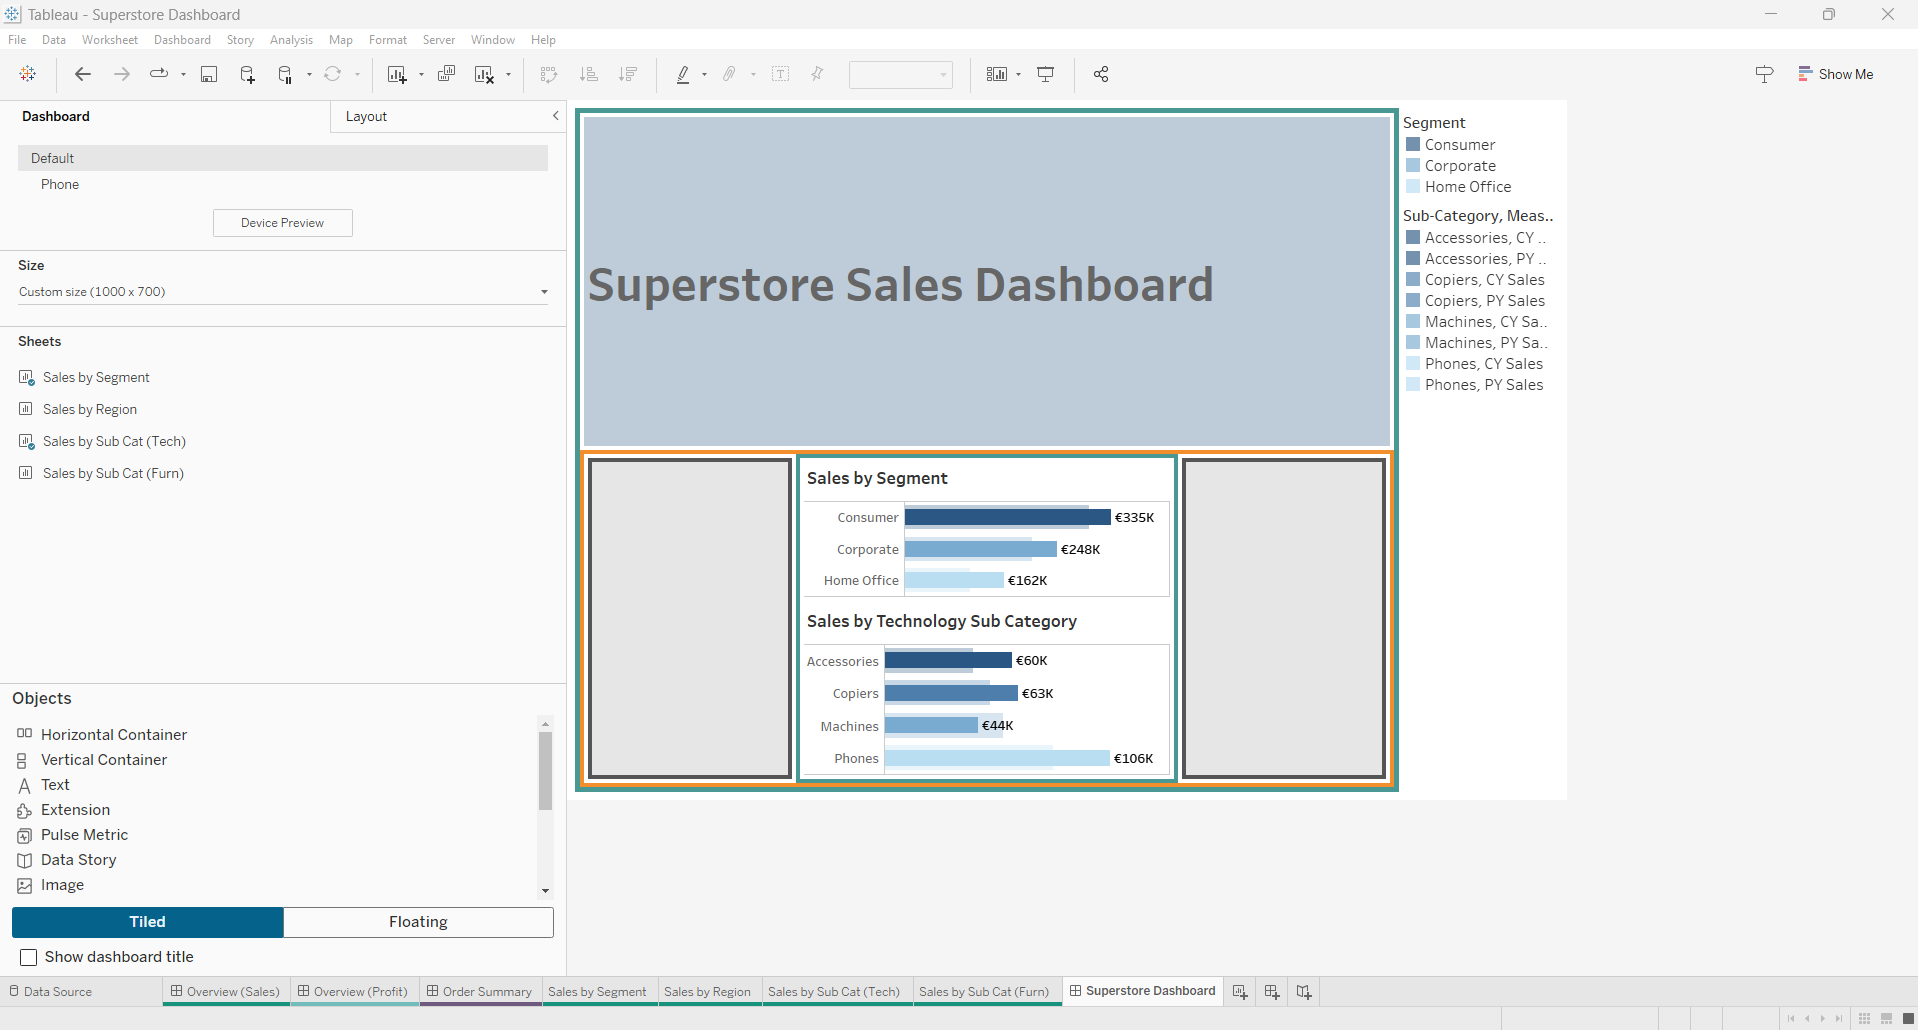
To show this, lets use a mock design of a simple dashboard below:
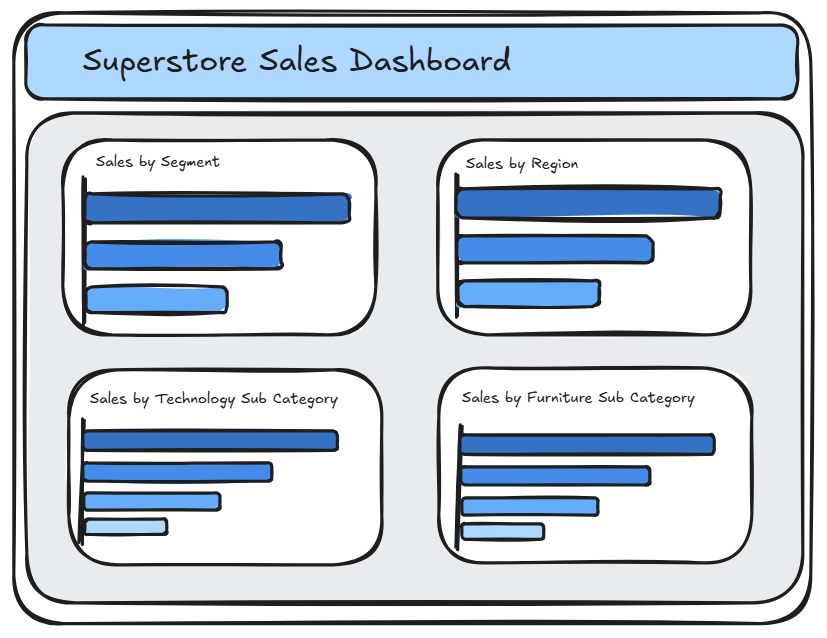
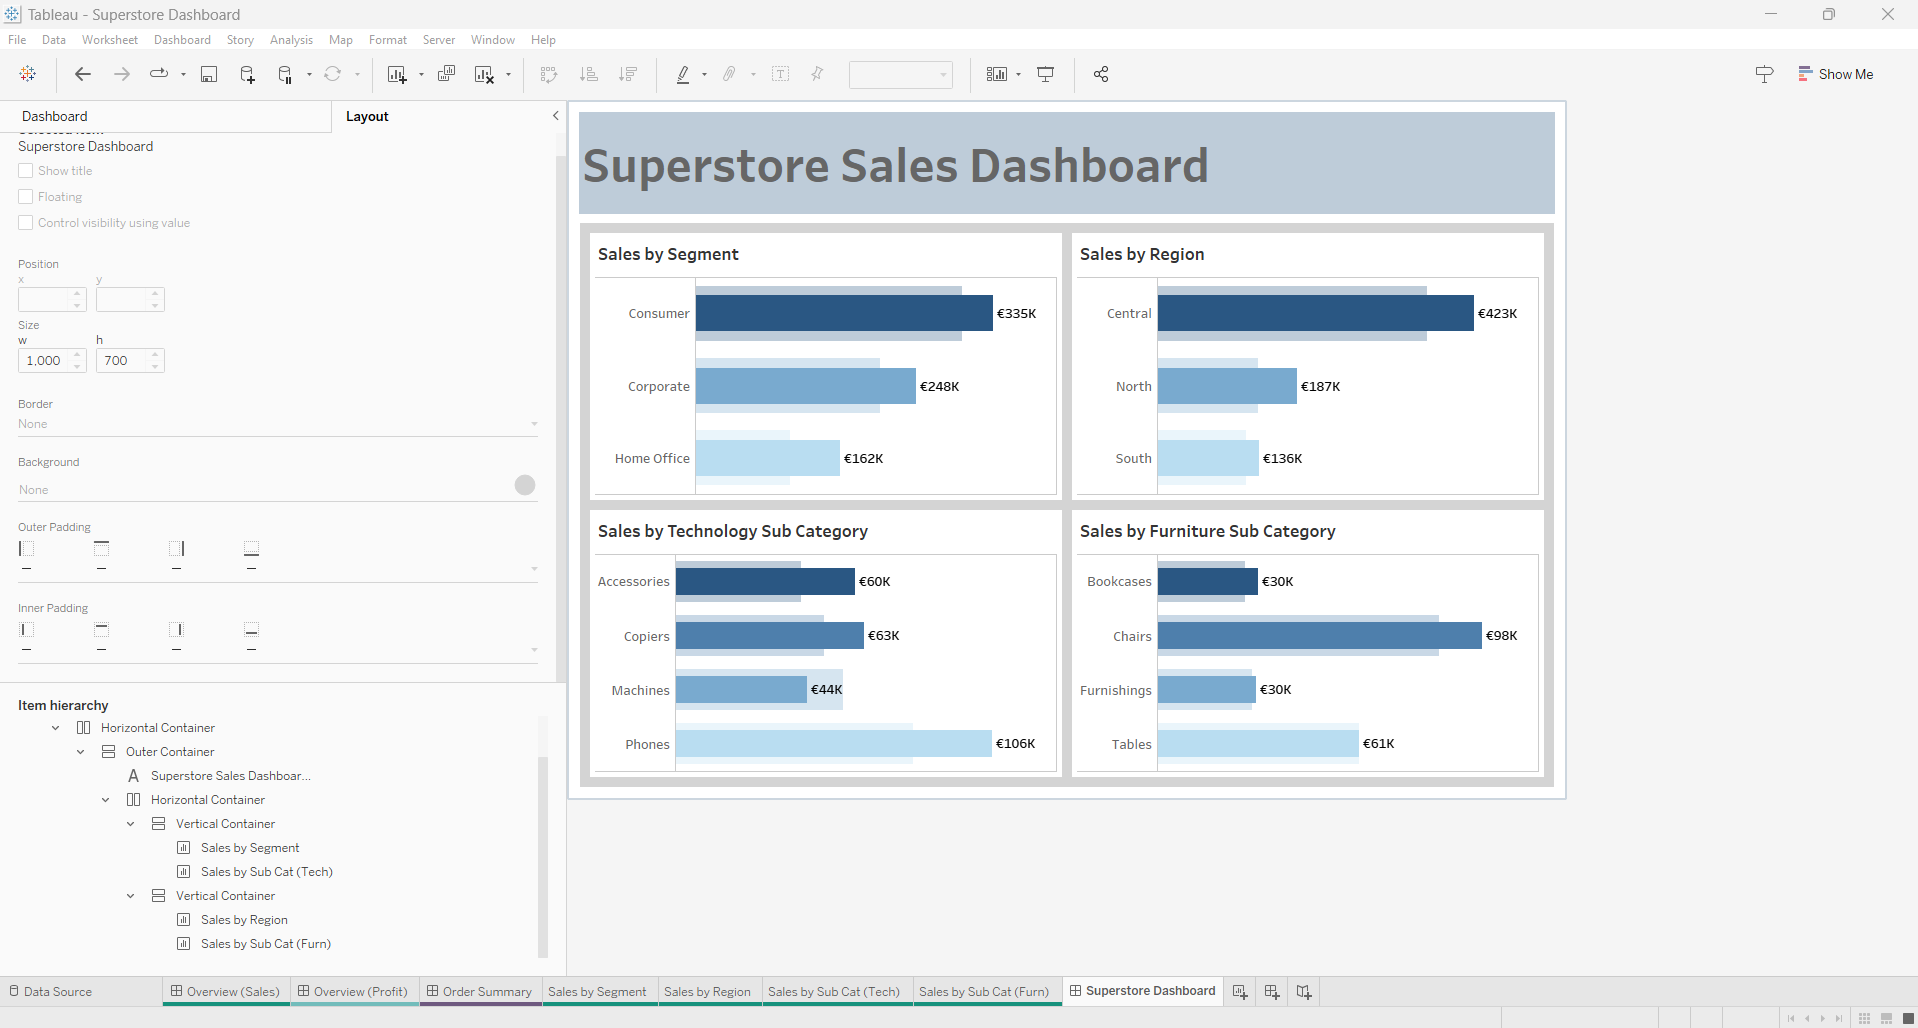
As you can see, the dashboard consists of a blue title section at the top, followed by four equally spaced graphs within a grey box.
So how can we construct this using containers?
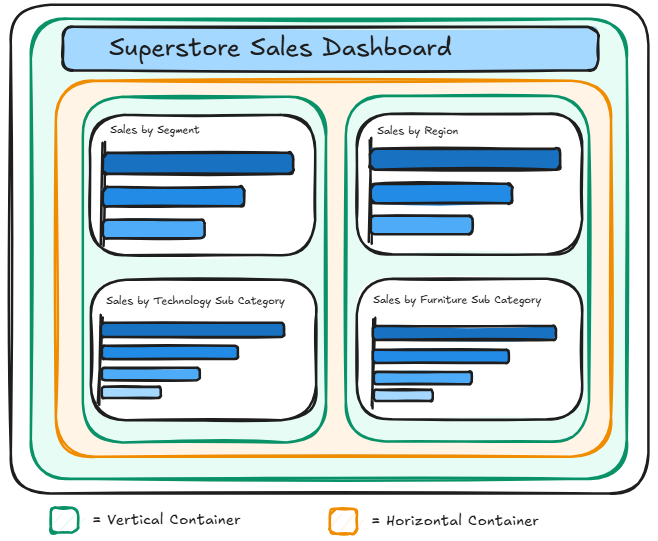
To achieve this layout, we need to break it down into the following container structure:
● Two Vertical Containers each holding two graphs (graphs stacked on top of each other)
● One Horizontal Container holding the two vertical containers (containers stacked side by side)
● One Vertical Container holding the title and graph horizontal containers (title stacked on top of the graphs containers)
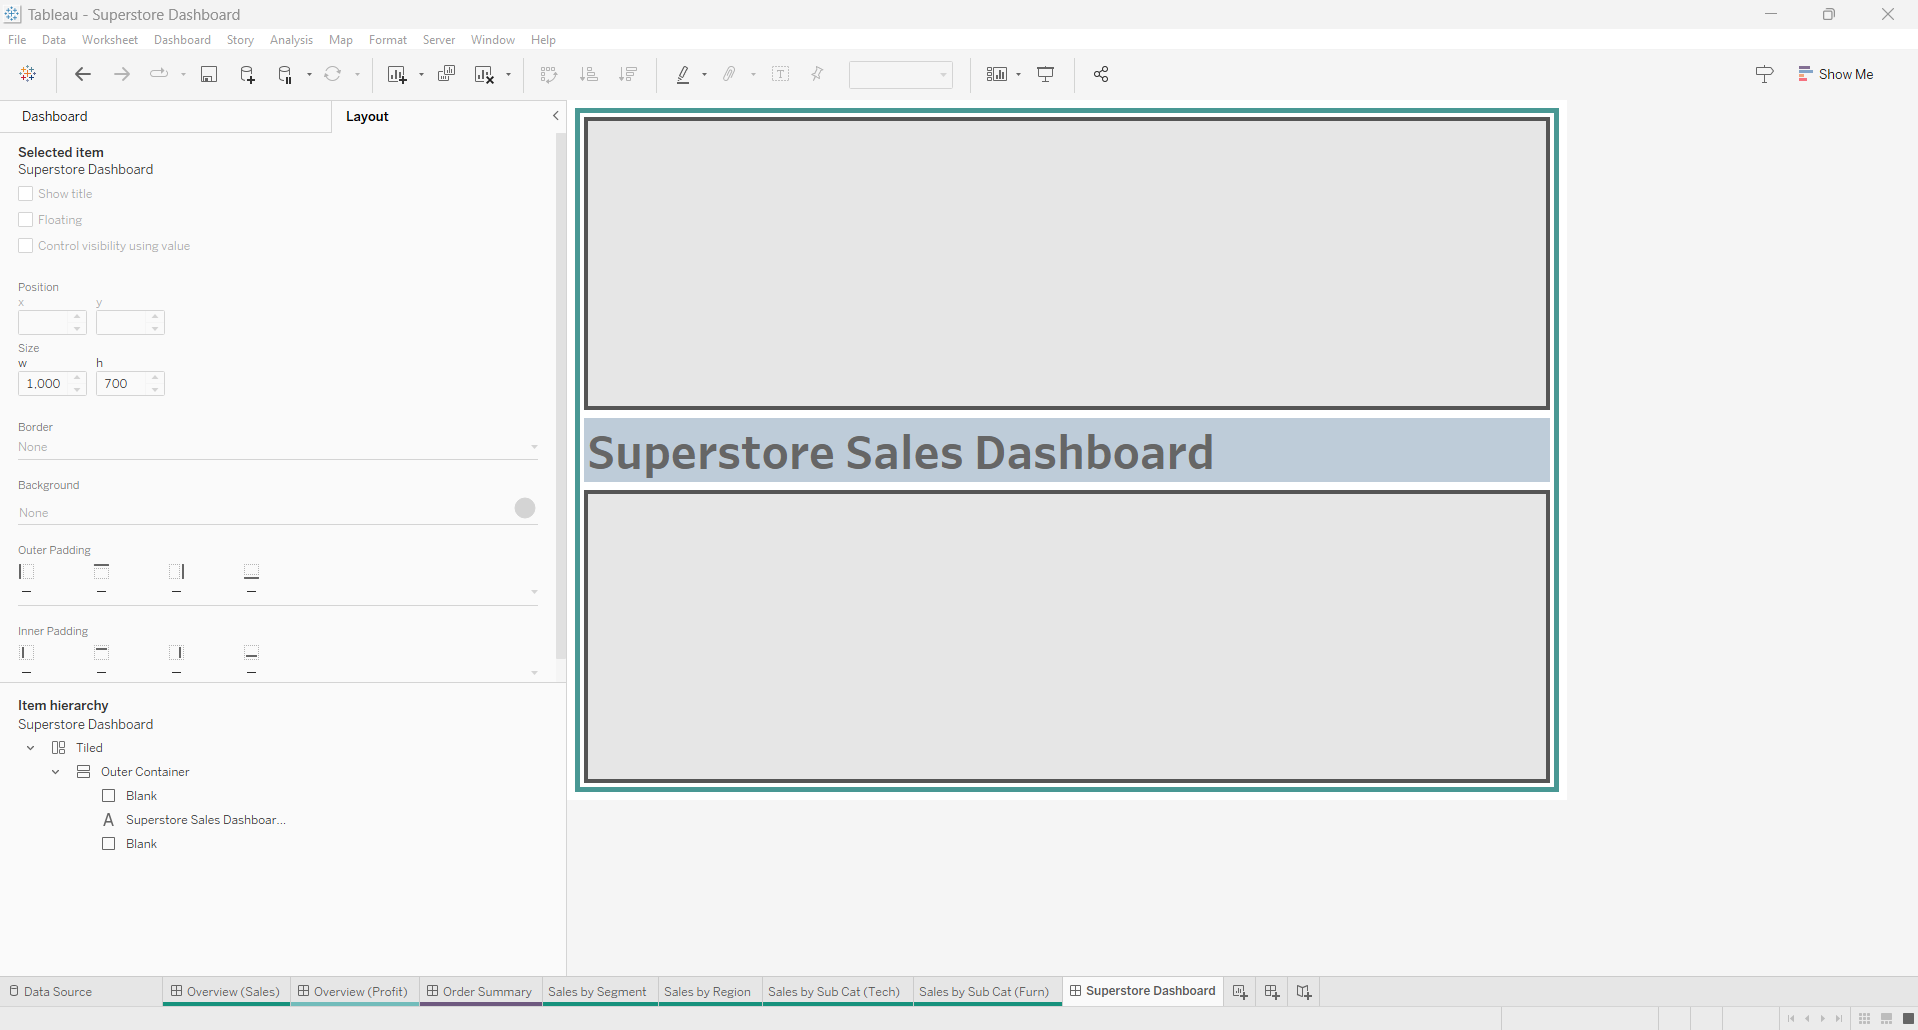
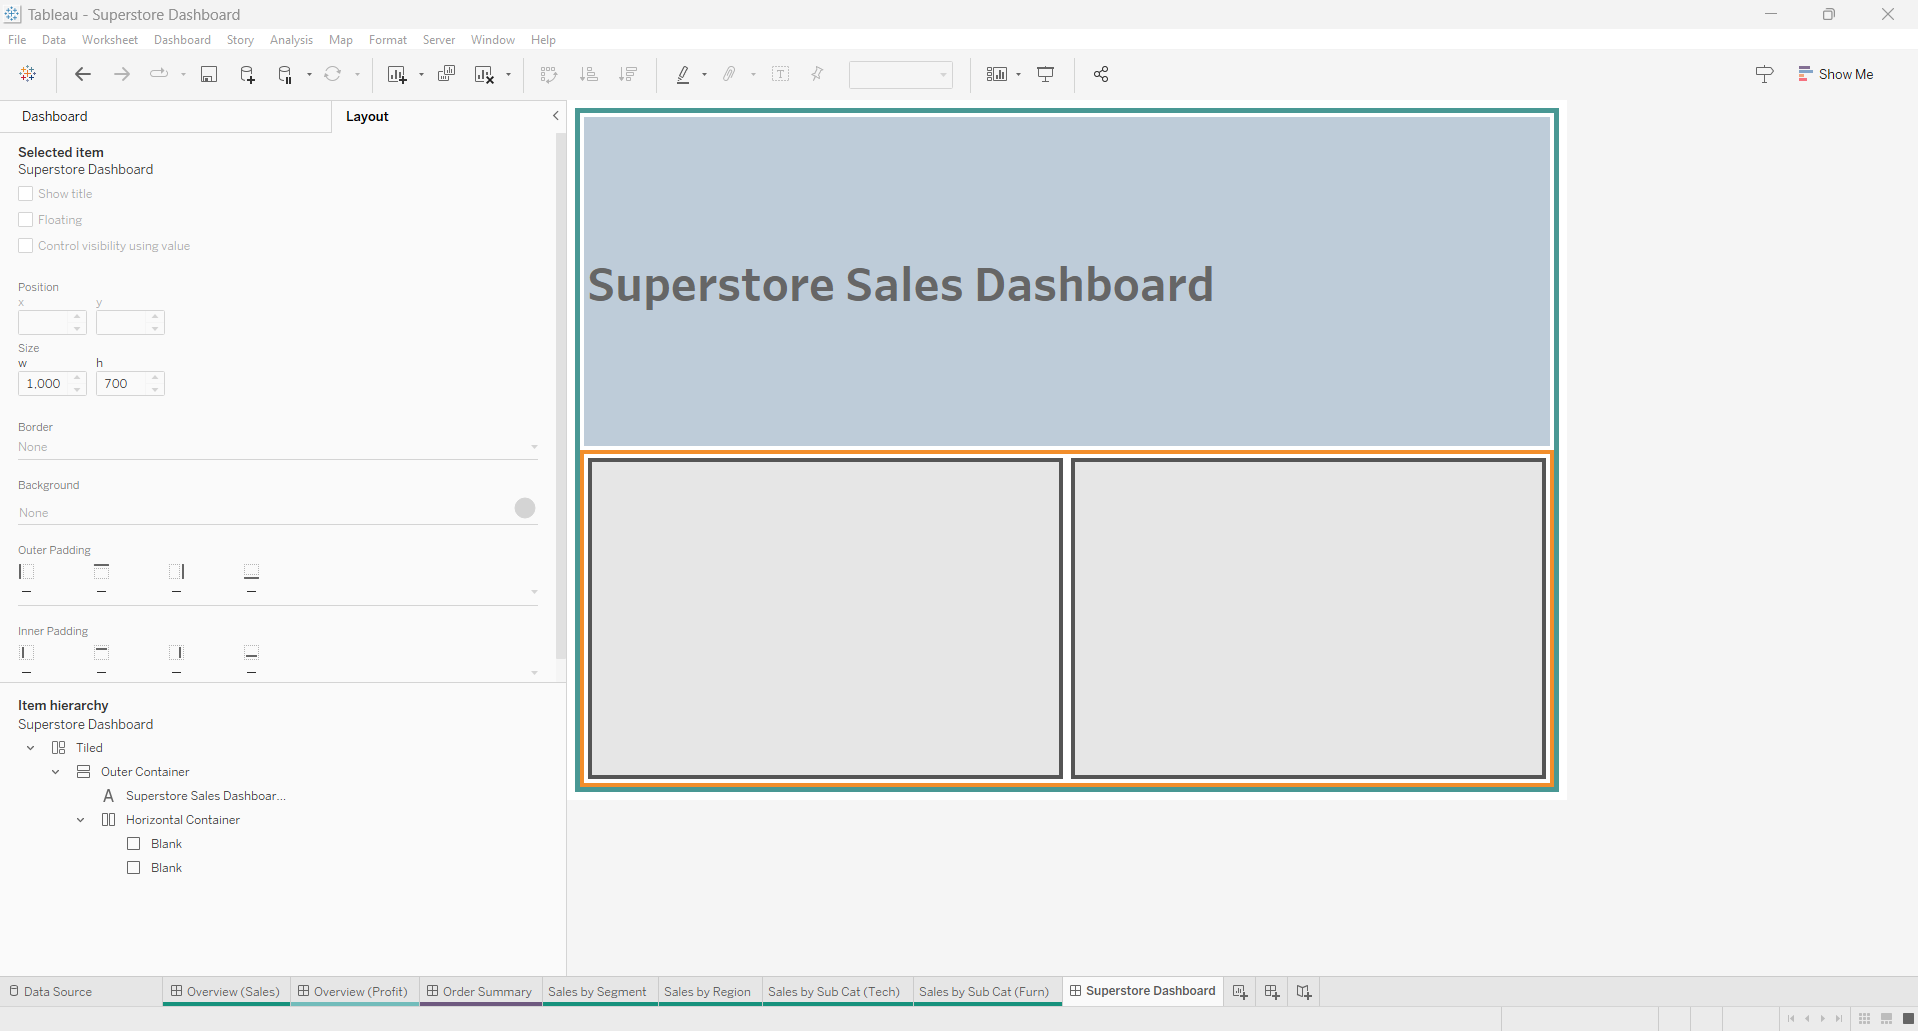
So with that in mind, building the dashboard should be a lot easier as we know which containers to use and at what level. However, when building in Tableau, we need to work from the outside in, meaning we need to start with the outer containers and then nest the inner containers inside them.
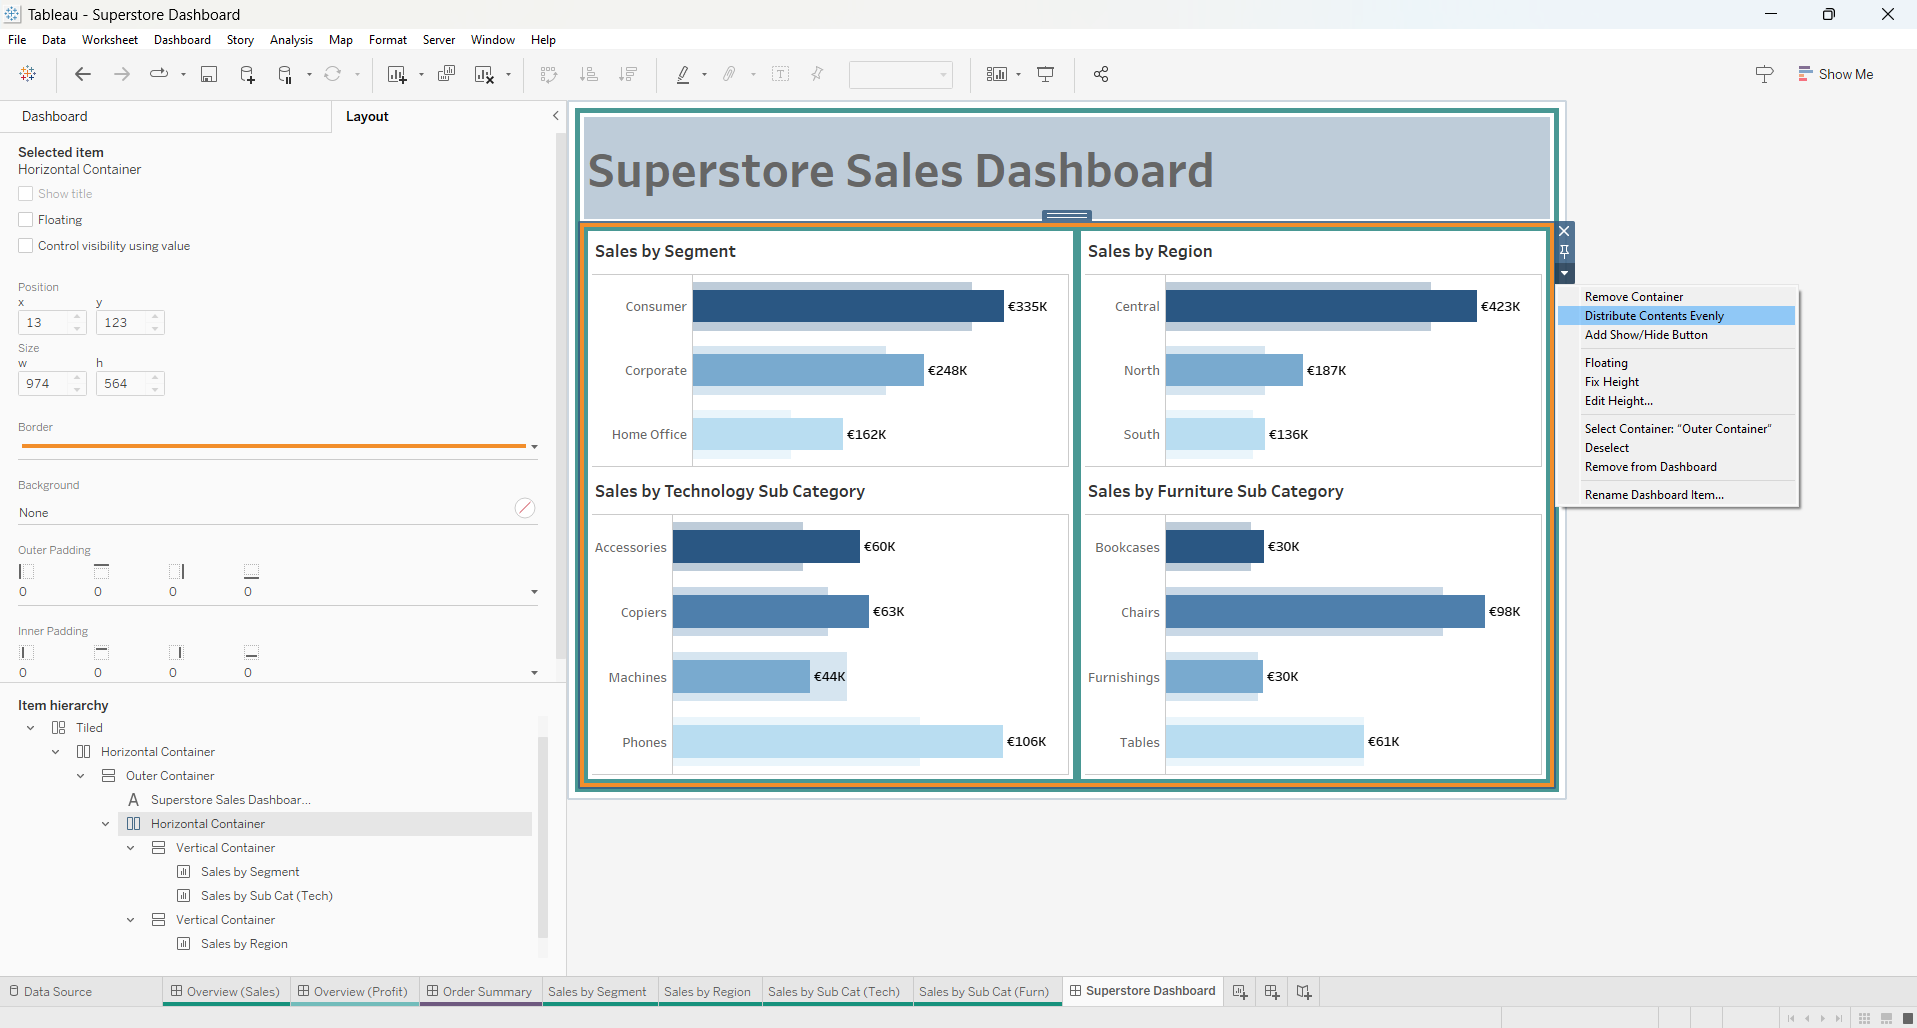
A helpful trick when nesting containers is to add blank objects as placeholders. This helps maintain the container structure and prevents Tableau from overriding or nullifying the effects of the first container when adding another inside it. Without placeholders, trying to nest multiple containers can disrupt your layout, making it very difficult to organize elements properly
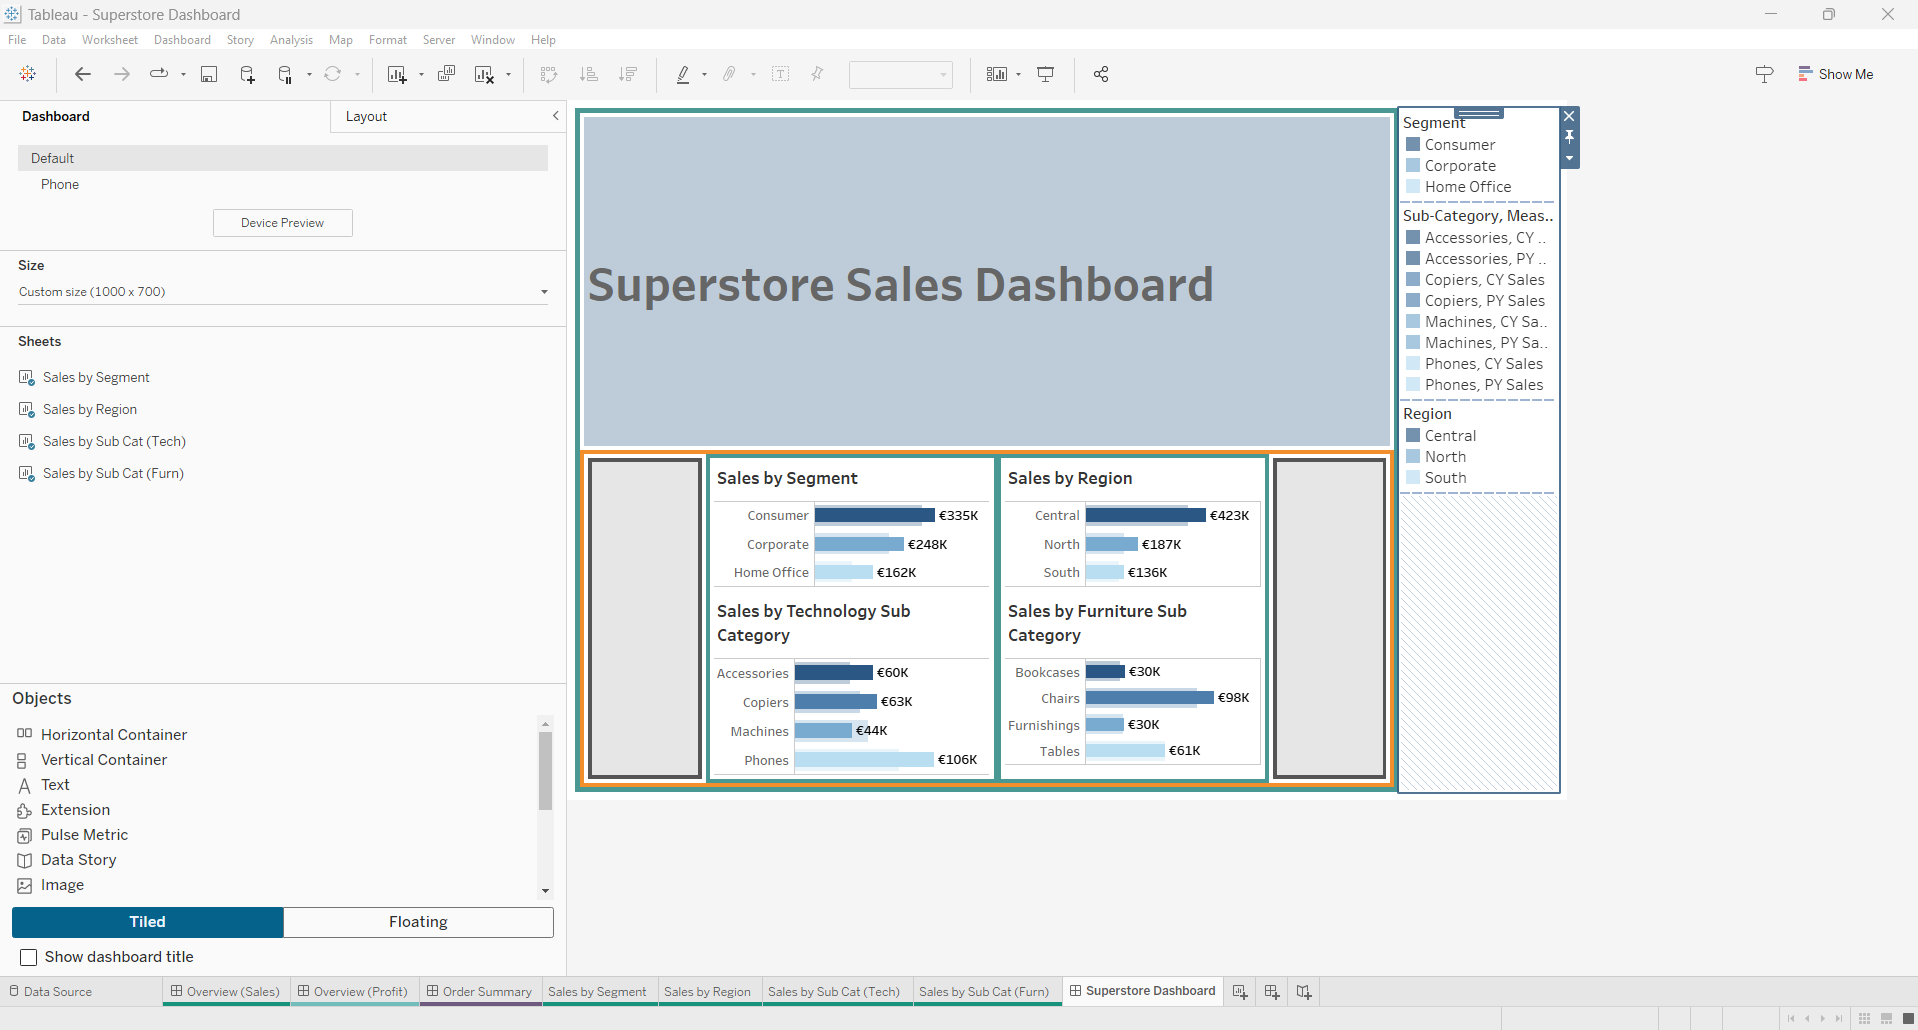
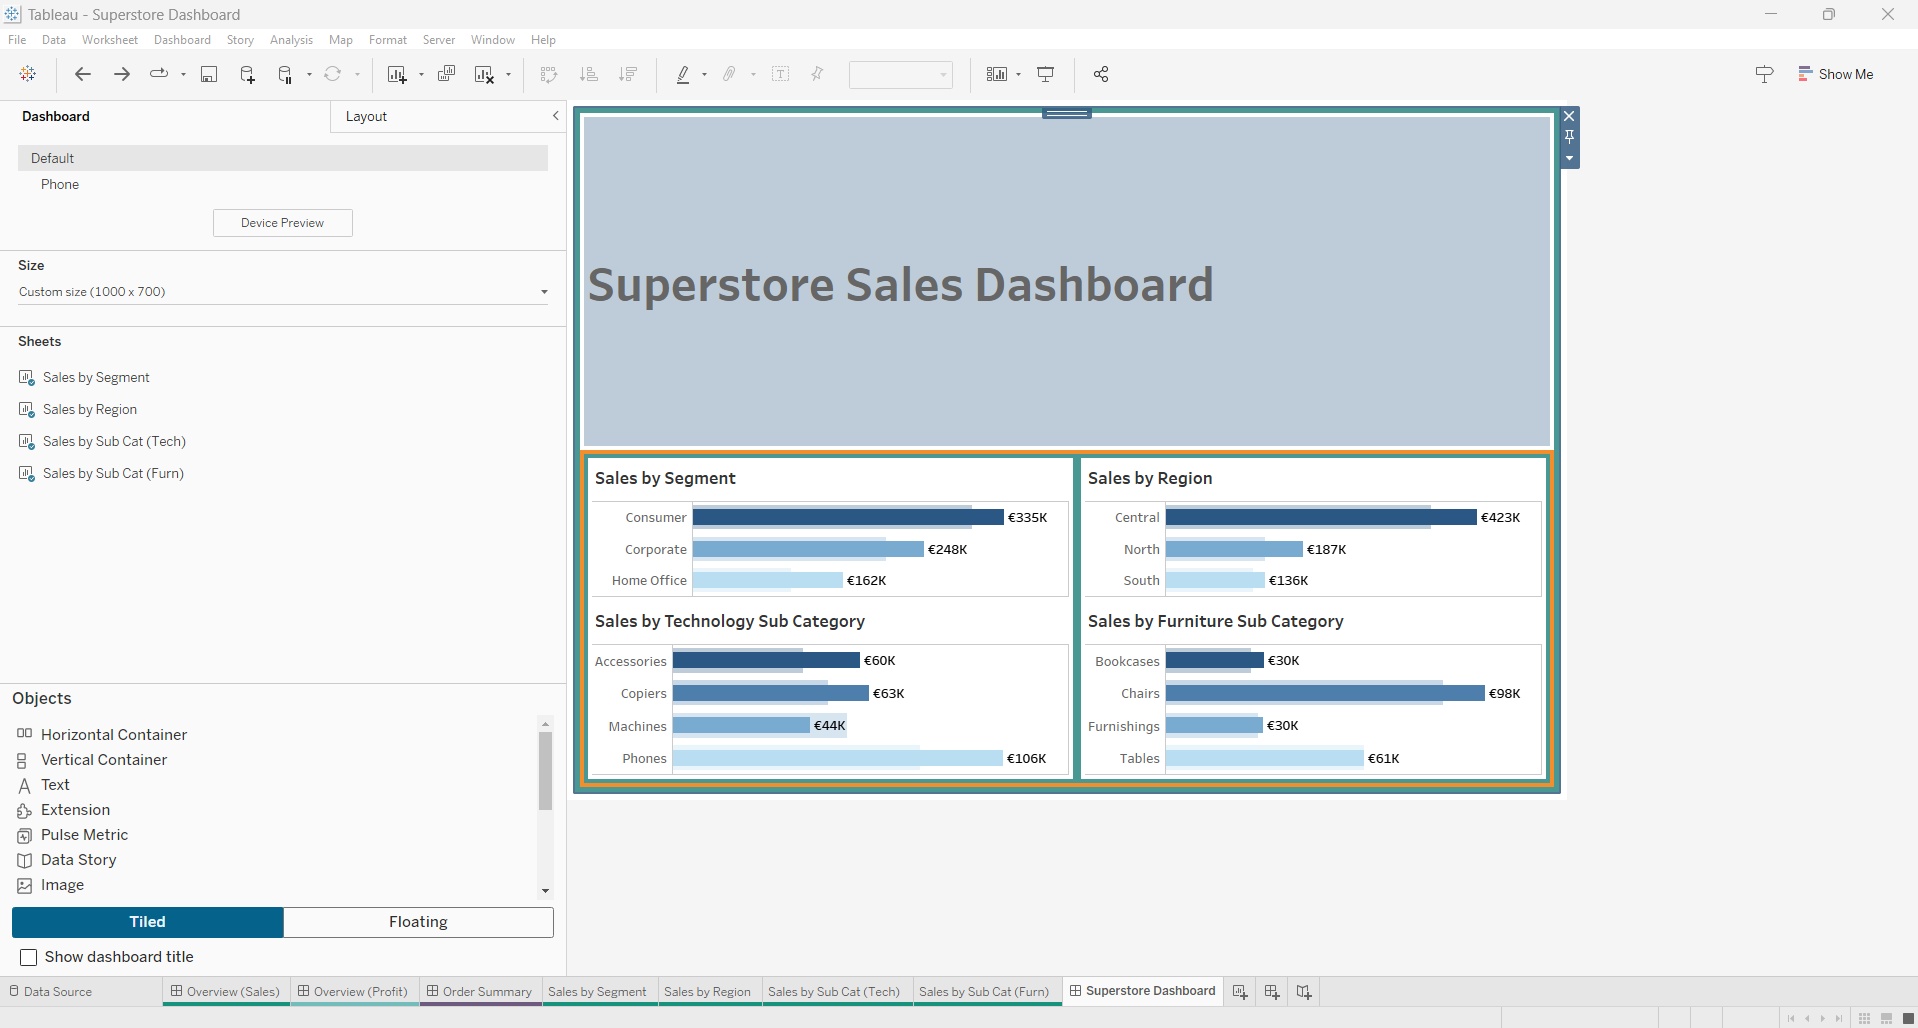
Here is a little demo of me building this design in Tableau Desktop. I have shaded in the blank objects in grey for visibility as well as colouring the borders of the containers as per the plan for reference.
And that’s it! Although at first it seems hard, once you get the hang of it, it becomes a lot more simpler, where you can then do your other adjustments to get your dashboard looking how you want it to.
Thank you for reading! 😊
Victor