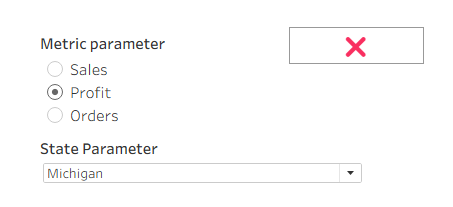
While learning about dashboard design & interactivity today, we picked up how Show/Hide buttons can be implemented to conceal objects like filters and improve the overall user experience.
Step 1: Initializing a container
Depending on your needs, create a tiled or floating container. For the purposes of this guide, I will be using a floating vertical container.
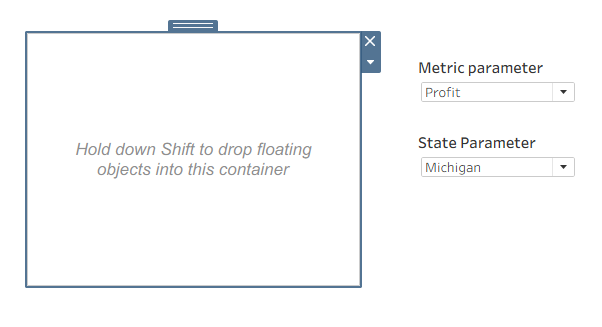
Step 2: Adding filters
Then, drag your filters while pressing Shift into your container in any order you'd like. Make sure to thoughtfully change your filter types and formatting if needed.
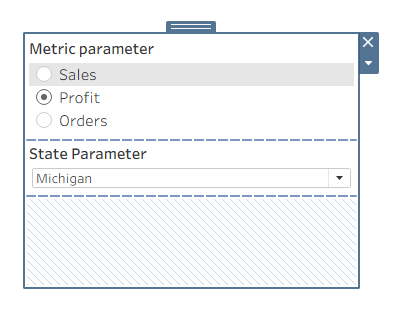
Step 3: Creating the button
By clicking the caret on the container, you will see the option to Add Show/Hide Button. Click on it to create the feature! Once that's done, you should see a gray X next to your container.
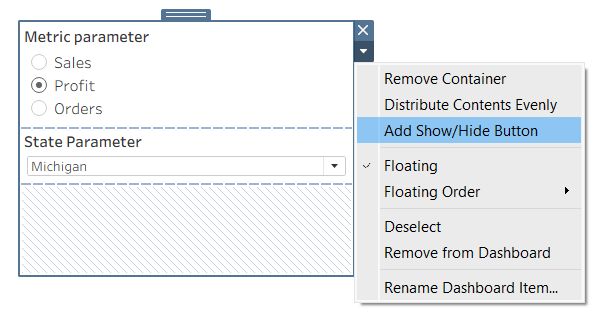
Step 4: Editing the button
Next, click on the caret on the new button and select Edit Button to customize. Here, you can click on the dropdown menu below Dashboard Item to Show/Hide to choose if you want the button to interact with the entire container, or only certain items within it.
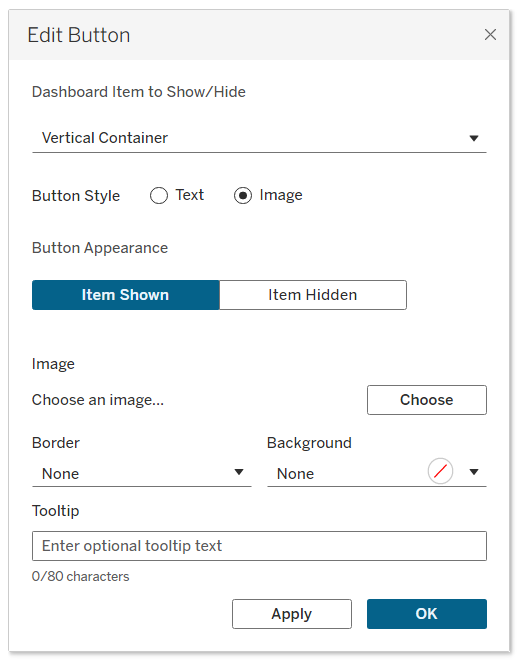
You can also edit the button style, appearance, and other formatting options. I'll be changing my Item Shown appearance to an X emoji:
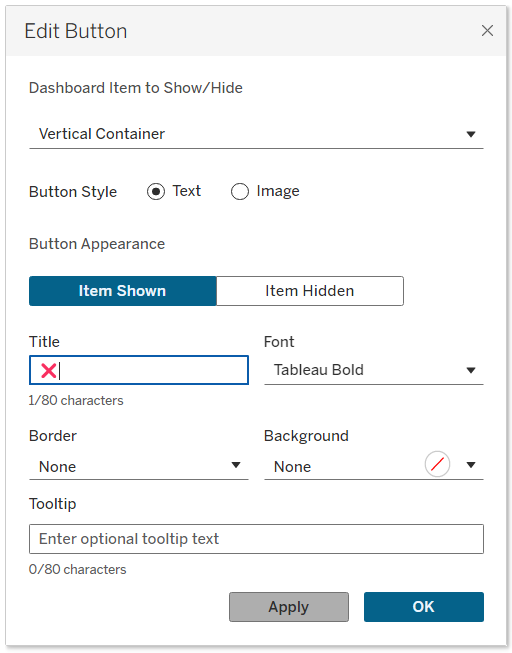
I'll then click apply and change my Item Hidden appearance to a Gear emoji:
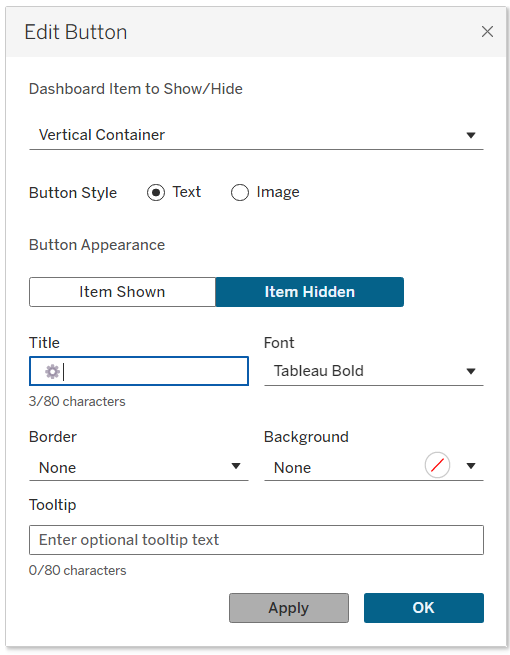
Click apply again and change your view to Presentation Mode to see how a user would interact with your new button.