


I wrote this post while listening to this song. Hit the play button and enjoy!
You are going to see the different types of Macros and learn how to create a Standard Macro in Alteryx.
Do you know you can create your own tool in Alteryx? - yeah you can! You do that with Macros.
A Macro in Alteryx is essentially a set of tools built as a group that can be used in a workflow as a single tool. They are quite useful if you happen to find yourself repeatedly creating the same workflow: once saved, a macro can be inserted into any workflow and perform the same process that have been saved with, without having to create it again from scratch.
There are 4 different types of Macros:
- Standard a set of tools is packed into a workflow and the instructions will be processed linearly when input into in a regular workflow
- Batch this macro allows to group data into batches and process one batch at a time, running multiple times (one for each batch) creating an output after every run.
- Iterative this macro runs multiple times through every record until a set target is reached. If the condition is not met, it generates a loop, and repeat the process as many times as necessary or until a set limited number of iterations is met.
- Location optimizer this macro runs multiple times to identify the optimal locations to add or remove from a locations networks.
To be honest, I haven't seen any use case for Location optimizer macro. If you have come across any use case for this type of macro, shoot me a message.
I love this analogy to explain how the main 3 types of macros work.

Now it's time to create our own Standard Macro. We have a lot to cover, so let's start.
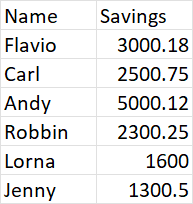
If you want to follow the steps with me, copy and paste the data below in a excel spreadsheet.
Step 1. Creating a running Work Flow
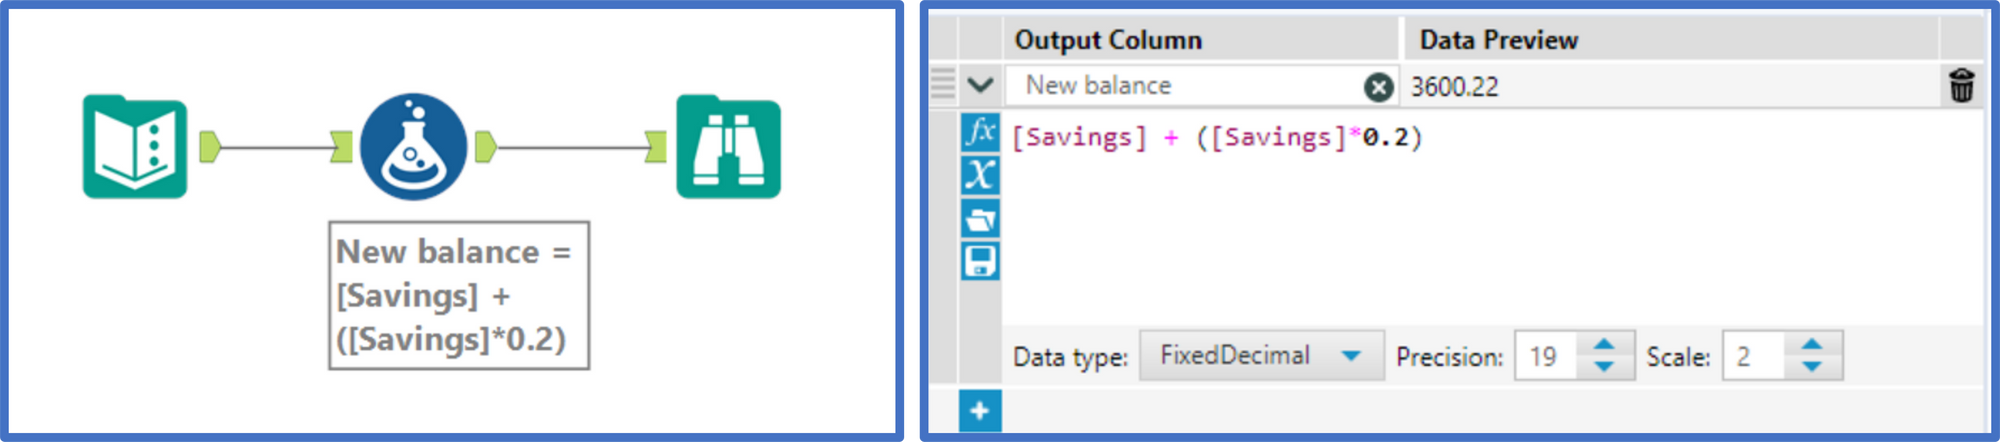
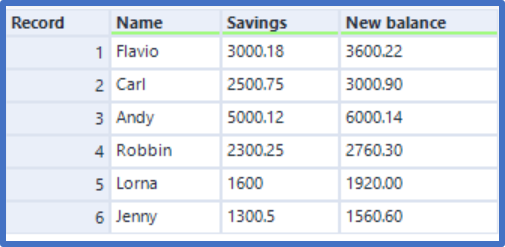
First, we need to create a workflow that works correctly, which is very important. We later convert this workflow into a macro. In order to create a workflow that works, we will insert the data in the canvas using the Input Data tool. Then we insert a Formula tool that will multiply the selected field with the factor and create a new field. And finally, a Browse tool to display the output. So the initial workflow will look like below.
Step 2. Converting the workflow into a macro
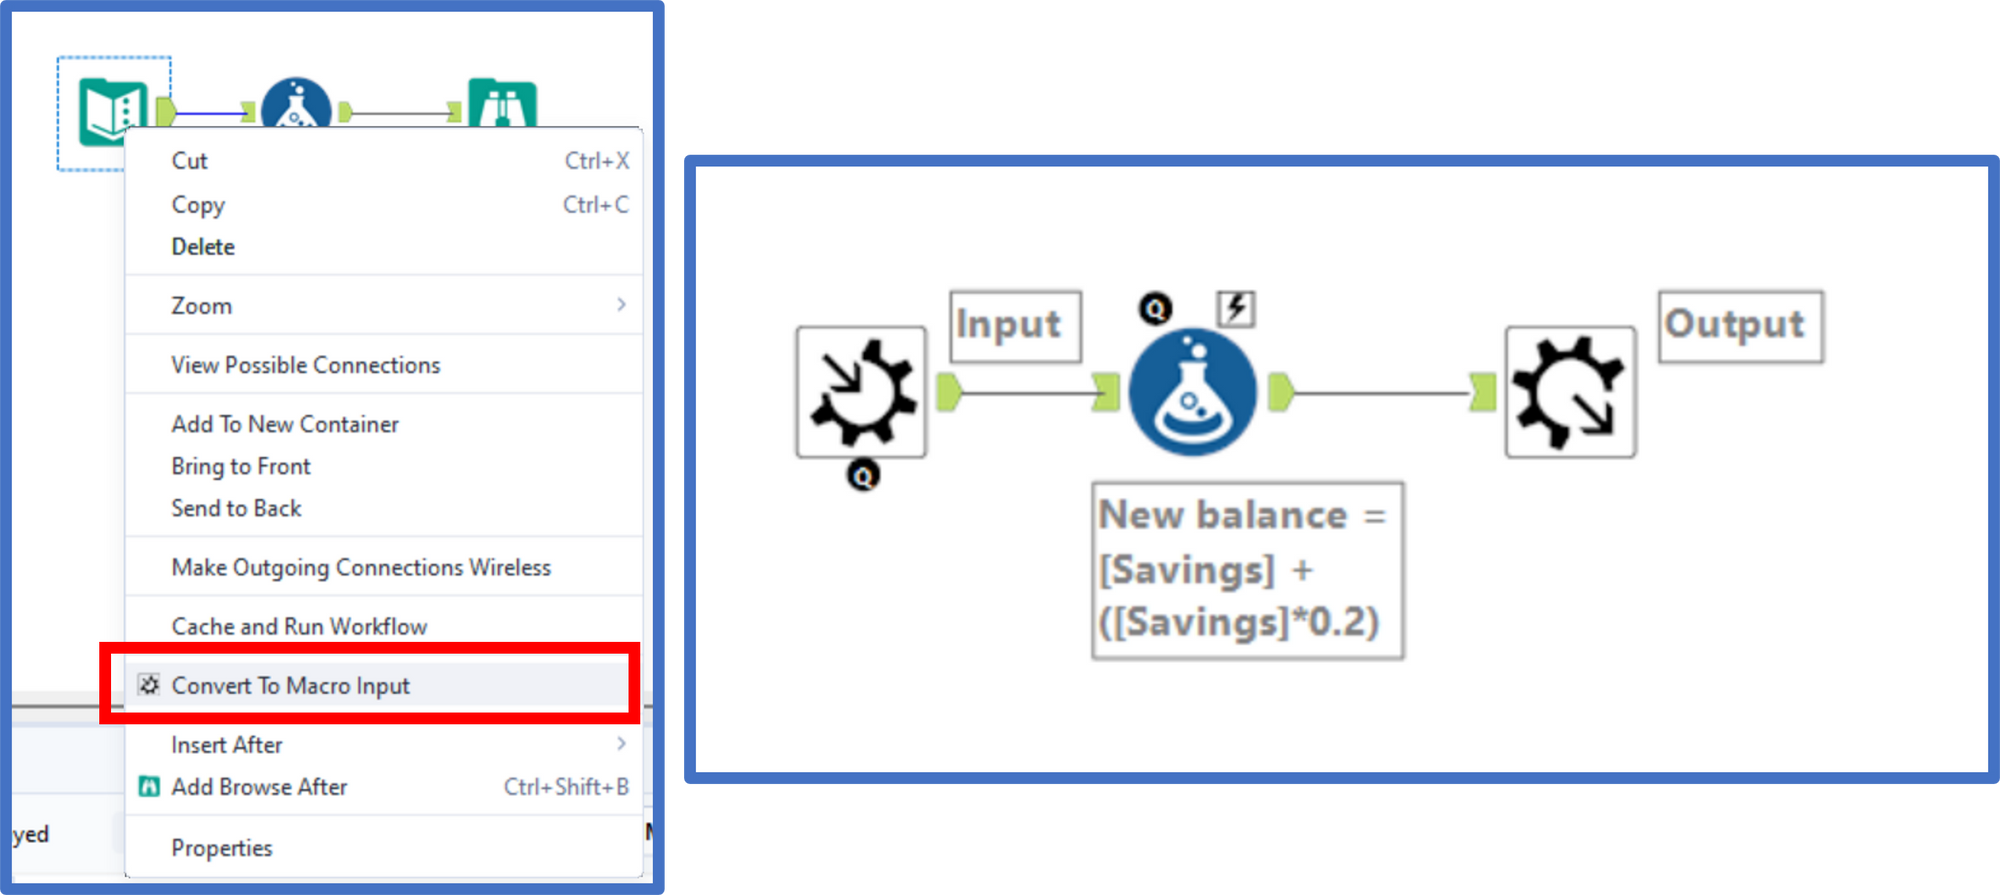
Now that we have a workflow, we can convert it into a macro. For that we will convert the input into a Macro input and the output into a Macro output. To achieve this, select the Text Input tool, right-mouse click and select Convert to Macro Input. In the same way, convert the Browse tool into Macro Output.
Step 3. Saving the macro
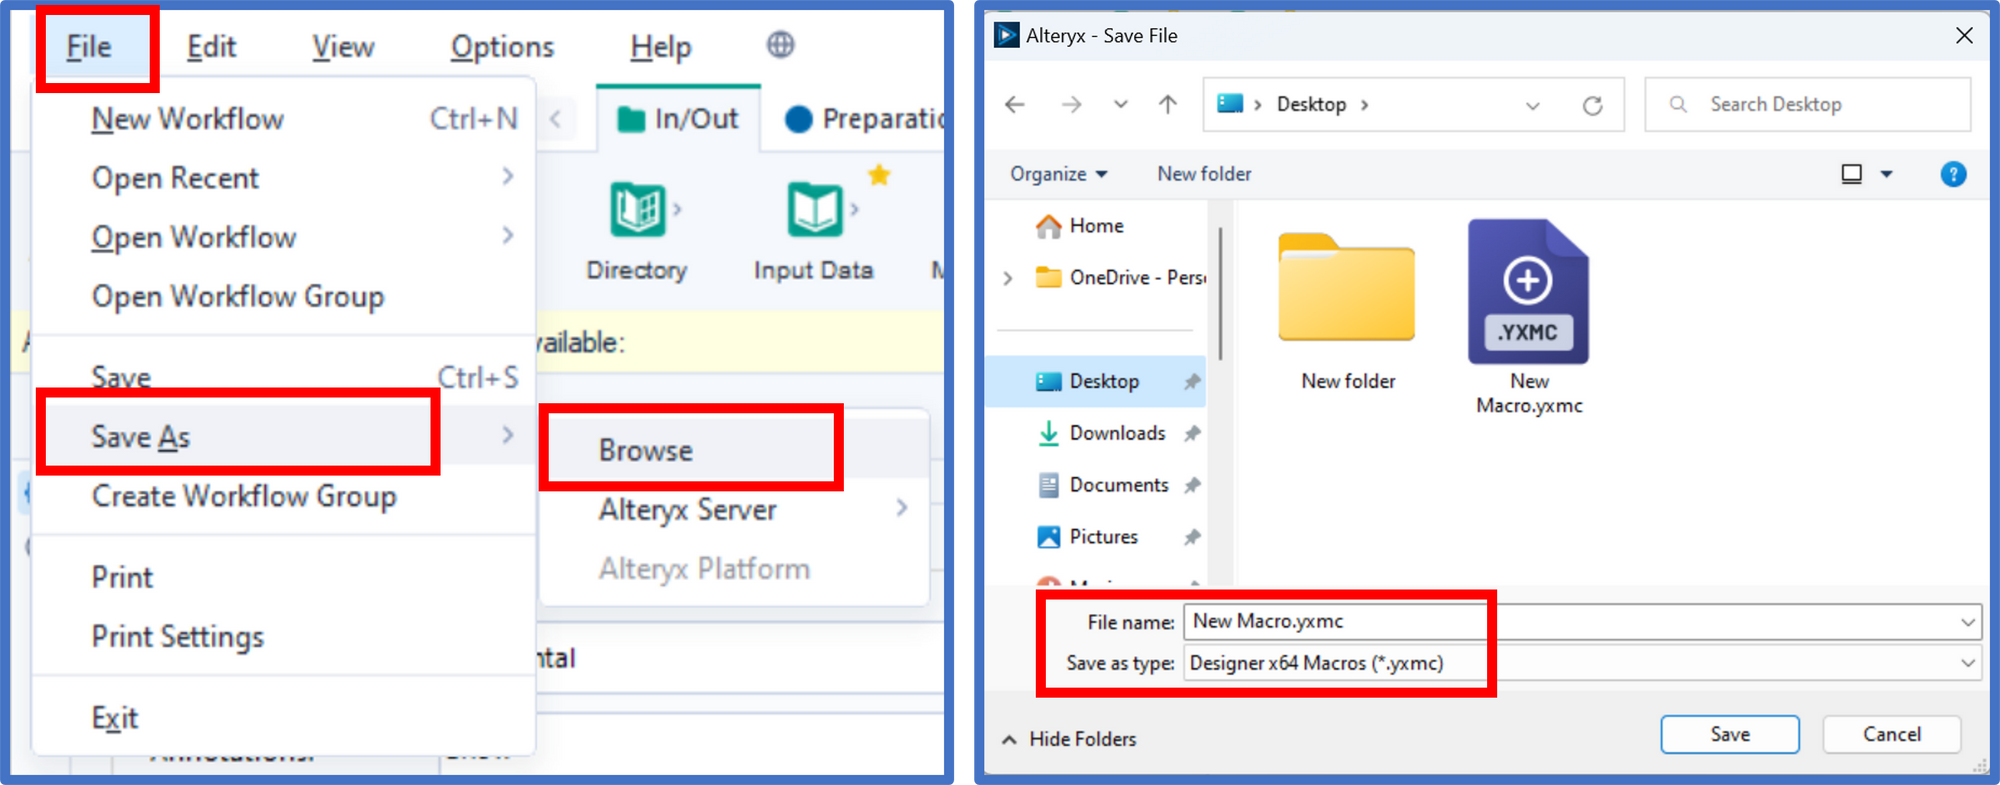
Now the macro is ready to be saved: look for the macro repository in your Alteryx Designer directory and save it here so he can be accessed from the Tool Palette or the canvas. The macro workflow will be saved with the .yxmc extension.
Step 4. Inserting it into another workflow
The saved macro can now be used in another workflow. Open the workflow where you want to insert the macro. On the canvas area, right-mouse click and select Insert and then Macro. From the Open File window, browse the location where you saved your macro and select it to insert it in the canvas. Connect the macro input and output of the macro with the respective tool.

Step 5. Checking the output
If you downloaded the data to follow along with the examples, you should have an output like this:
Hopefully, after reading this blog, you are also convinced of the power of Macros. If you have any question, just drop me a message!
- For more tips follow me on LinkedIn and Twitter.
- You can check out my portfolio on Tableau Public.
- Song: The natural order of the things - (free translation) by Emicida - 2019