


In this blog post I’ll walk you through how you can easily create a custom map.
Custom maps can be both fun and useful. Fun because you can use any picture you want as a background, useful because…well google it, because today we are focusing on the fun part. 😊
And the fun today is that we will create our own Pacman map with the following steps:
Step 1. Prepare the data
We will need a document that lists are points where we would like to see our Pacman and our ghosts. For that I used CBI Studio that you can reach here: https://cbistudio.interworks.com/
Either you can upload your own image and by clicking on the picture create your own coordinates that you can download here:
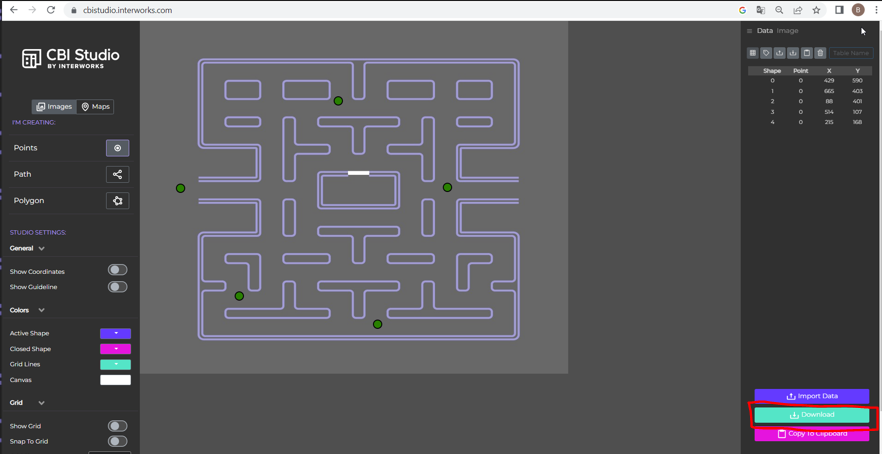
Or you can use the image and file I prepared:
Step 2. Create the coordinate system
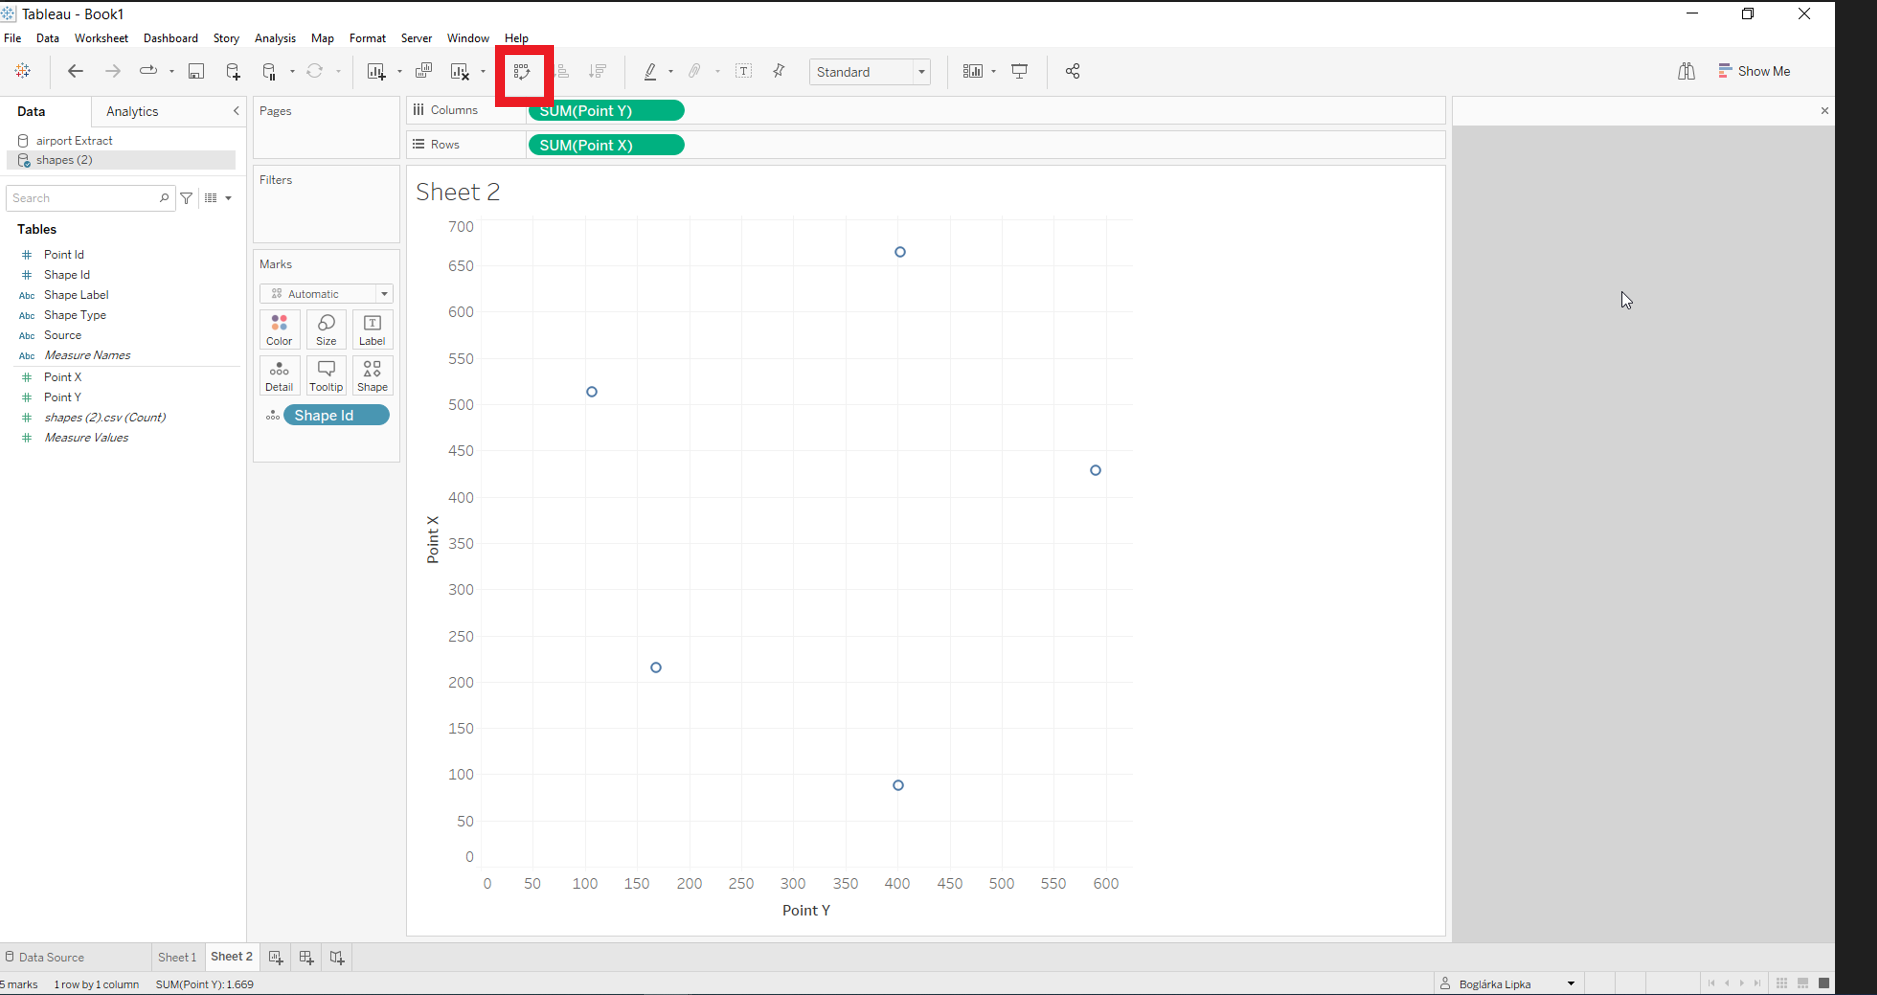
Simple double click on Point X and Point Y fields, then drag the Shape Id to the Detail card. If you use my dataset, you will see this and will have to click on the swap rows and columns button to see the correct points:
Step 3. Get rid of the gridlines and headers
Right click on headers, click on “Show Headers”
Right click on the canvas, click “Format” and then go away both column and row gridlines, we don’t want you (sadly). Result (just not swapped with the axes, I did that later):

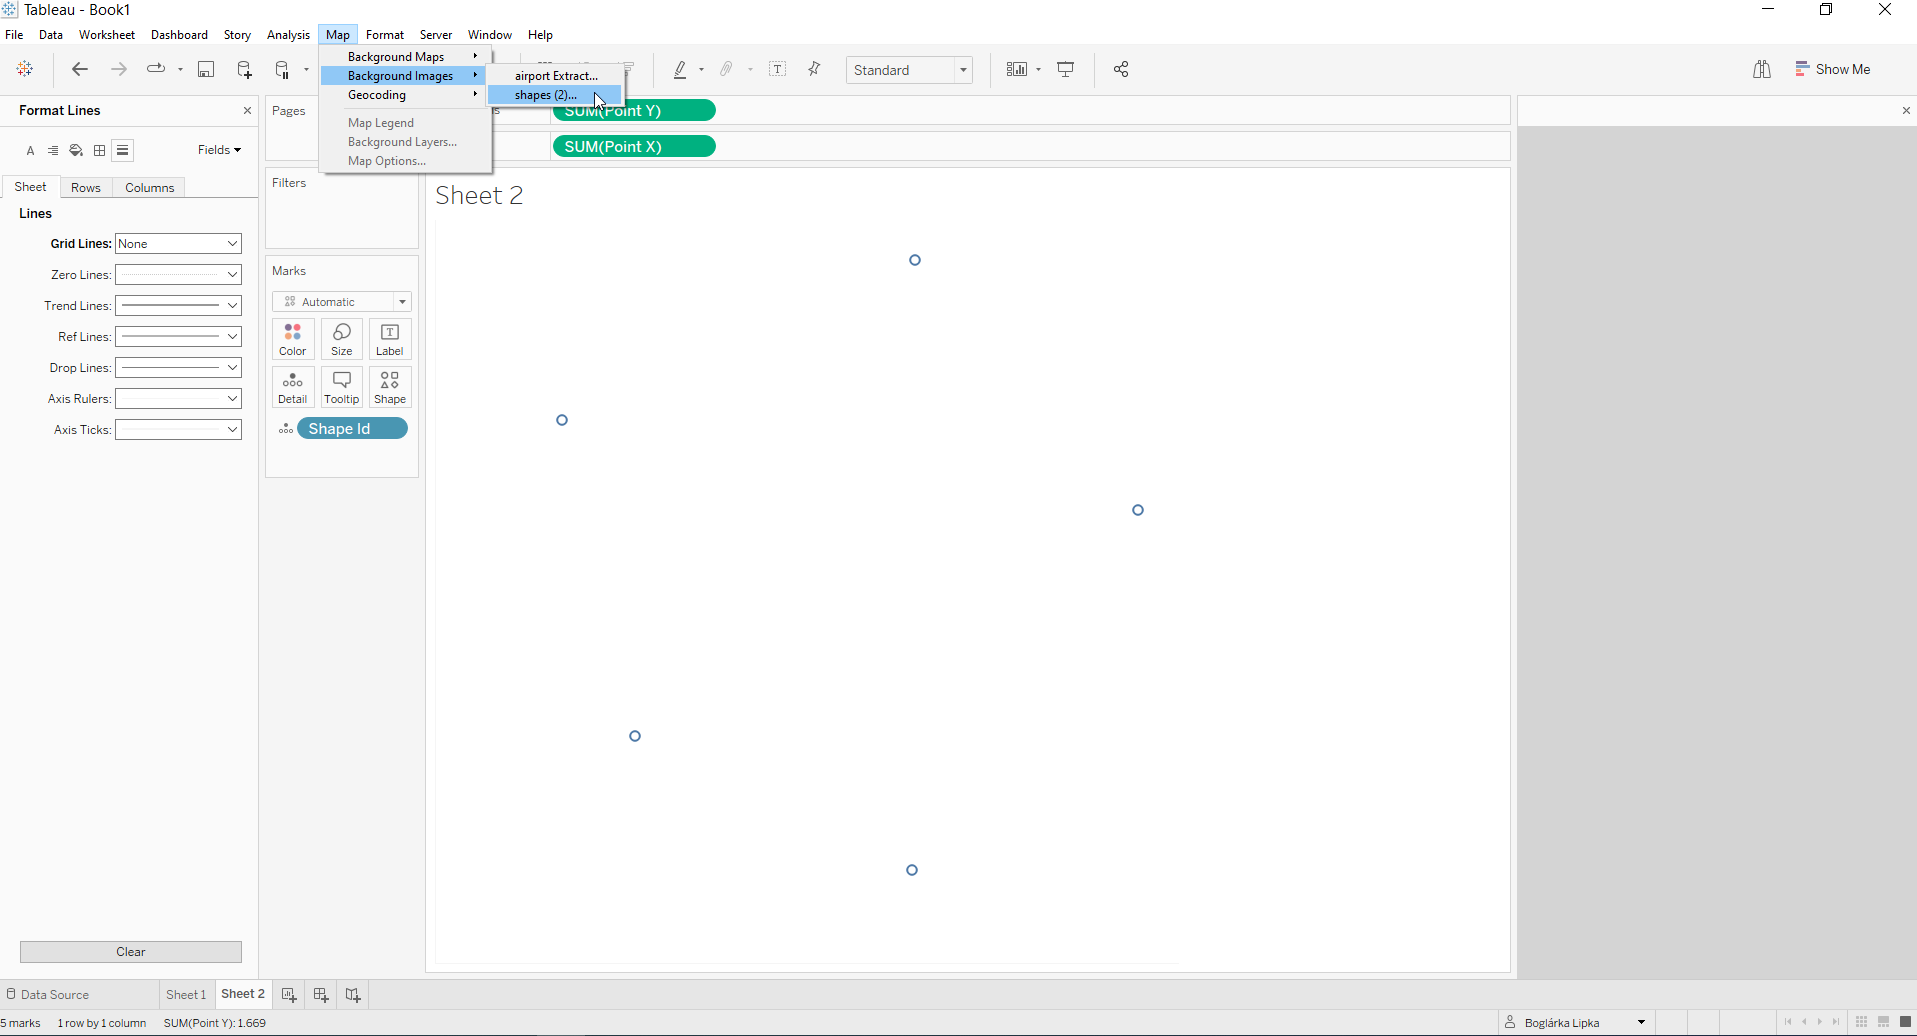
Step 4. Loading the background image
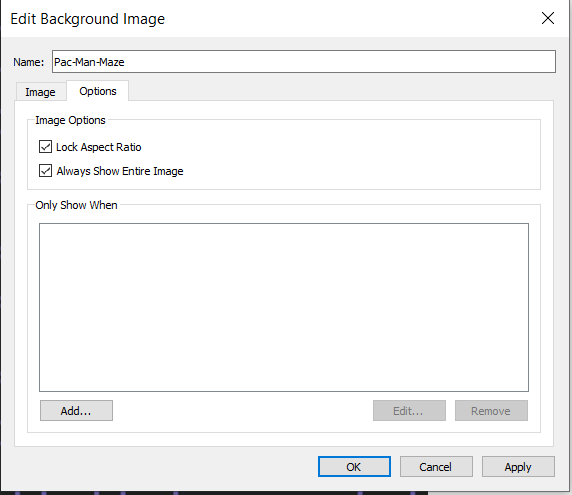
Follow this path and load your picture with the Browse button. For the X and Y Field you will have to give the length and height of your image:
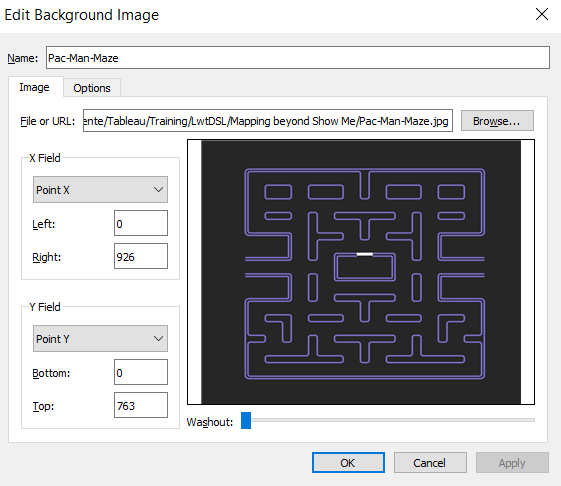
Then under Options check the Always Show entire Image box. Click Ok.
Step 5. Prepare your shapes
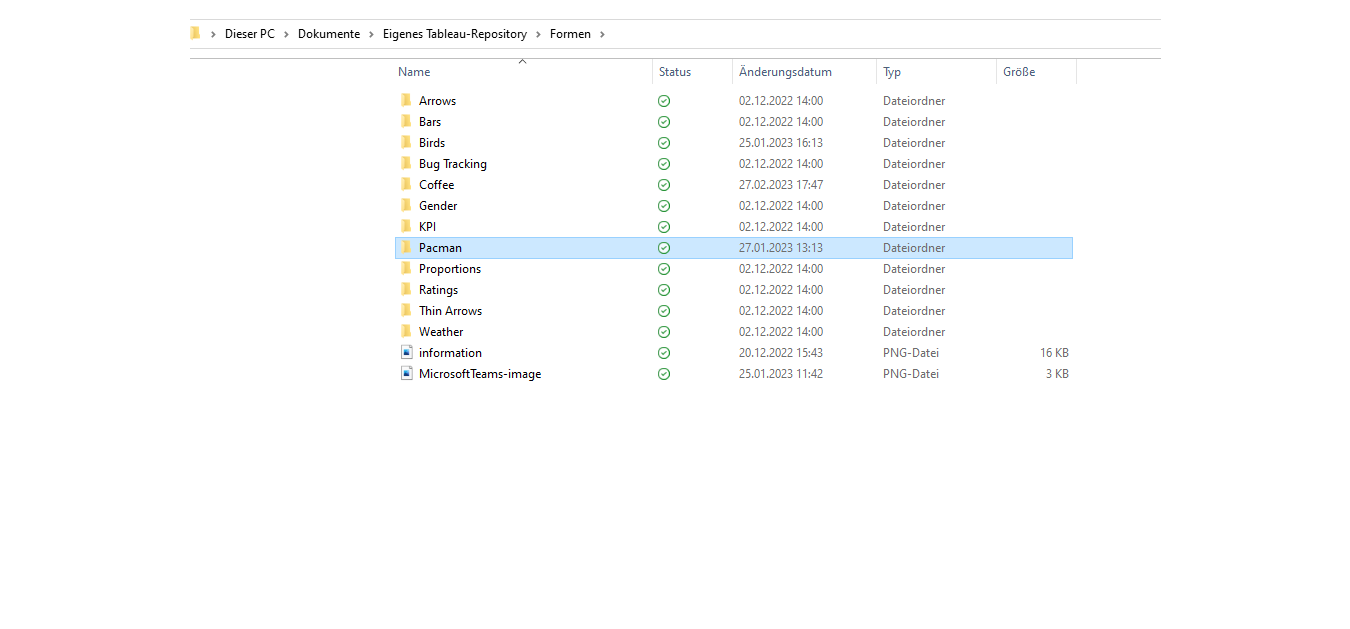
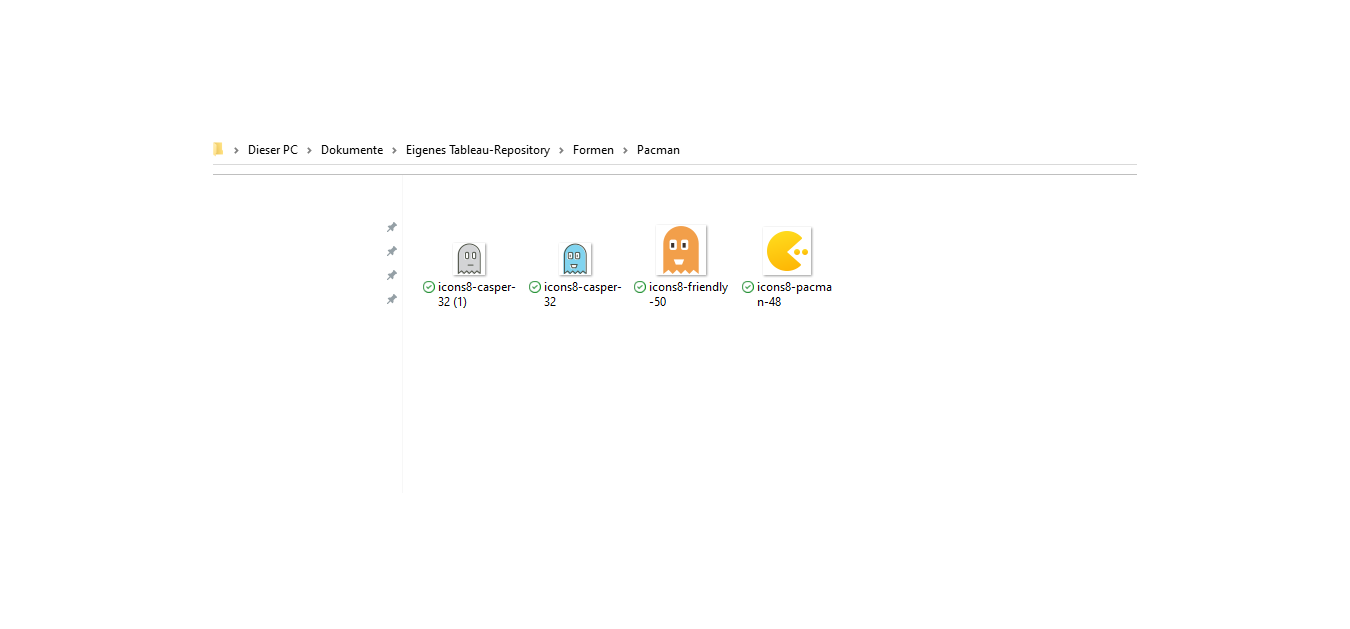
Download your shapes that you want to use on the map (in my case Pacman and the ghost friends) and save them in a Folder in your Tableau Repository folder. Yes, you have that also when you use Tableau Public. Search for it on your computer:
Step 6. Place the shapes on the map
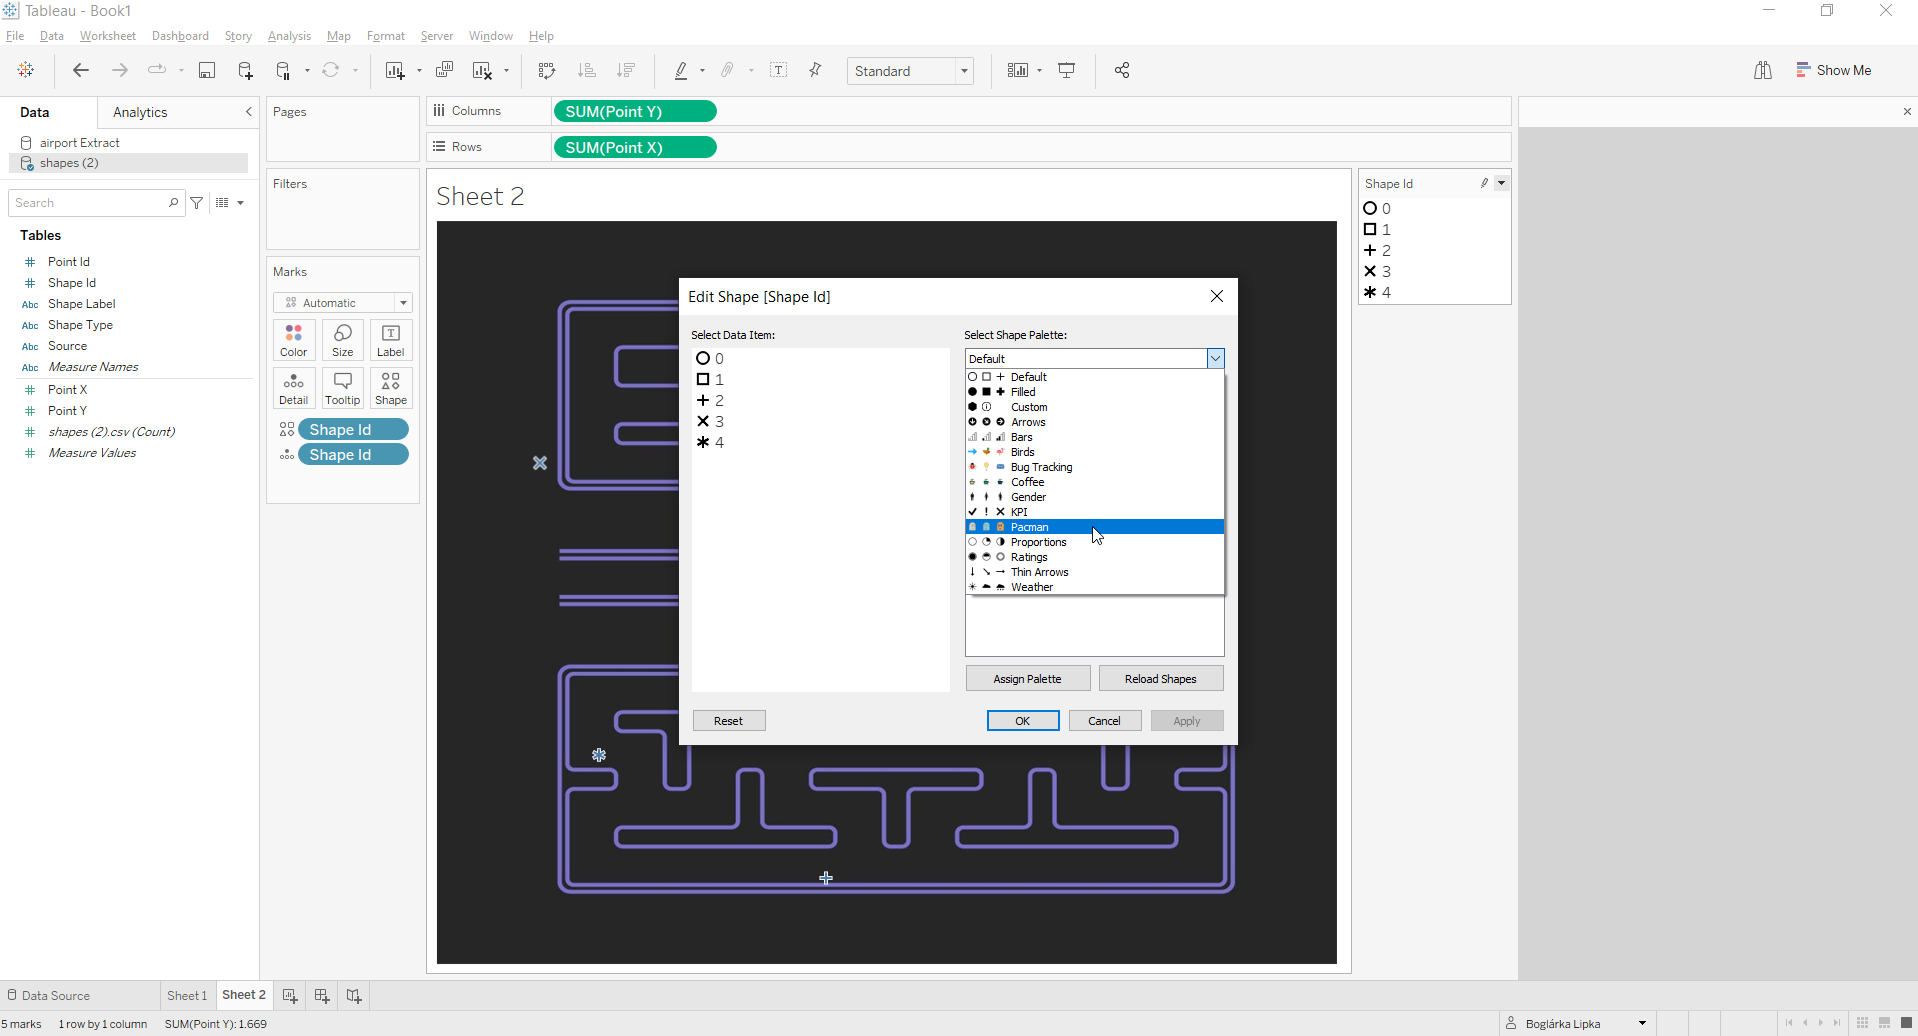
Drag Shape Id to the Shape card and click on the little triangle on the right and choose Edit shape.
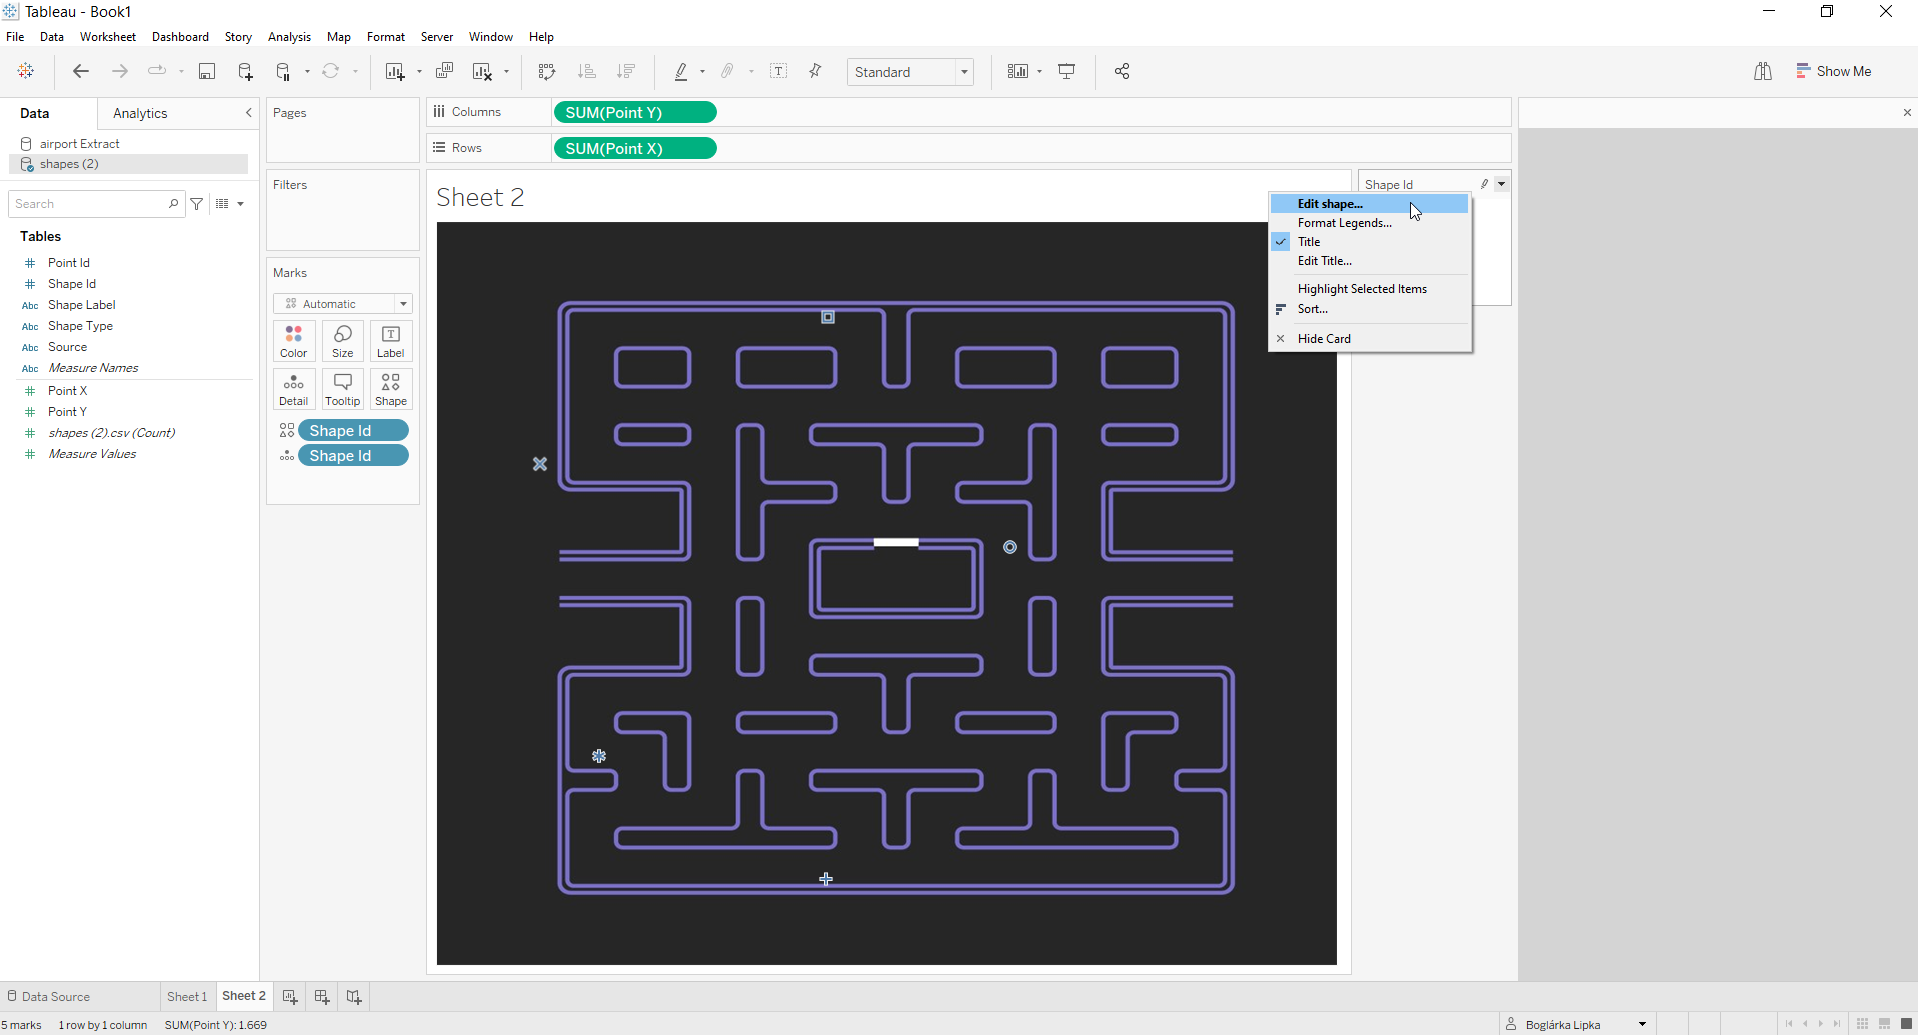
From your Shape Palette choose your new folder (you might have to click Reload Shapes to see it). If you now click on a Data Item and then on a shape, Tableau will assign the shape to the data item. When you are ready, click okay.
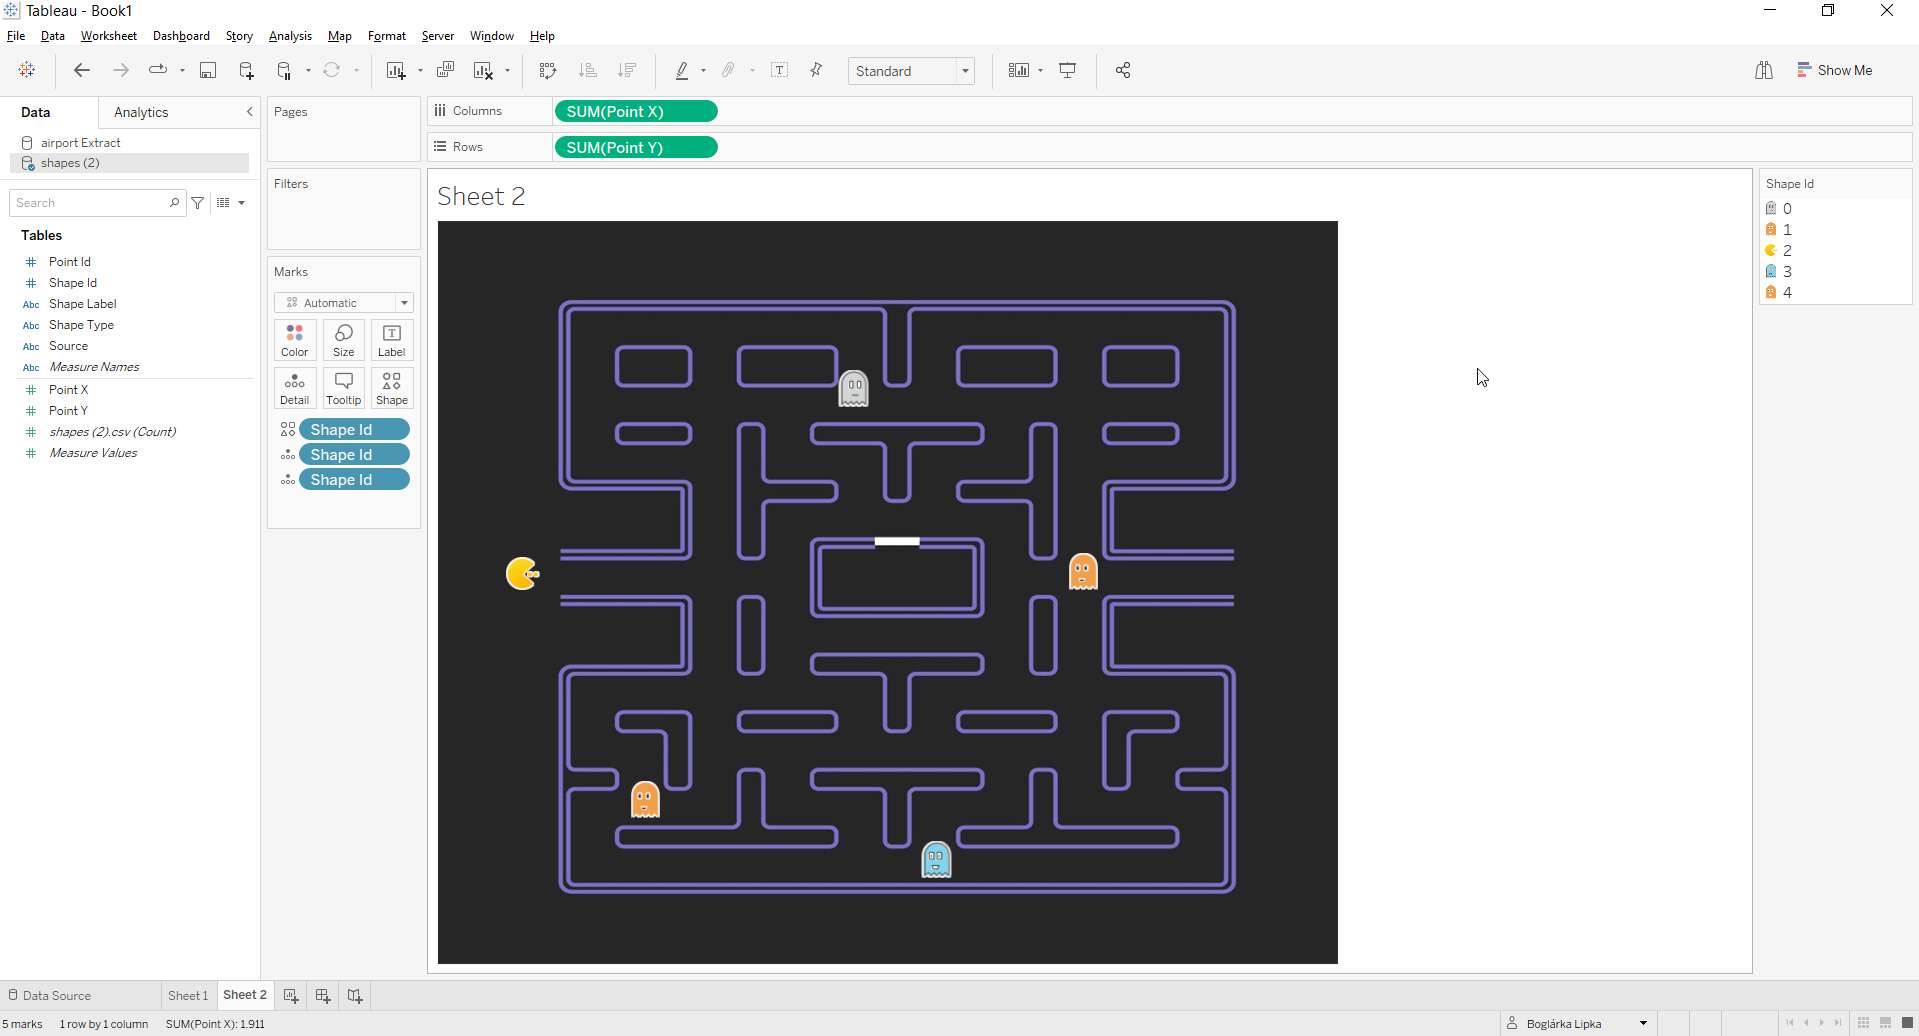
Step 7.
BIGGIFY (I think I learned this word from a series) your shapes with the Size card and ta-da – custom map. 😊
I hope you will have fun with creating other custom maps too!